
Decorate baseball caps with a design that feels like you. Try painted stripes, a splatter pattern, blocks of color or fabric patches, then add details inspired by your favorite colors and shapes. The examples below offer different directions for personalizing a plain cap.
Sketch your idea on paper before starting. Keep your first design simple, check which paints or adhesives suit the cap fabric, and follow the product directions for drying and care. Work on a covered surface. An adult should handle hot glue and help with needles or other sharp tools.
Use the Crayola color wheel to plan a palette, or browse more Curious Jane DIY projects for ideas you can make your own. Start with the stencil outline below, then explore the painted and patched examples.
design a simple stencil and cut it out
for an even flow, start your hot glue on a paper scrap before applying it to your cap.
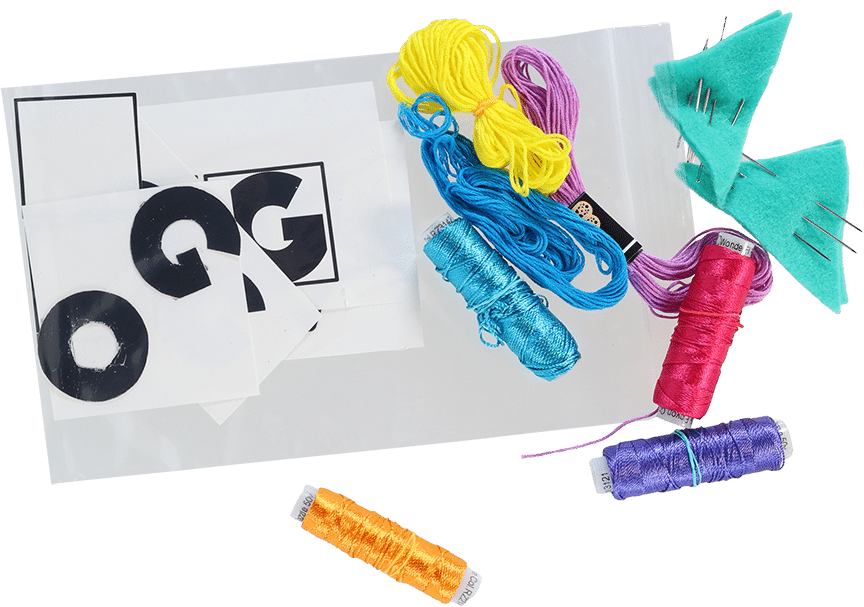
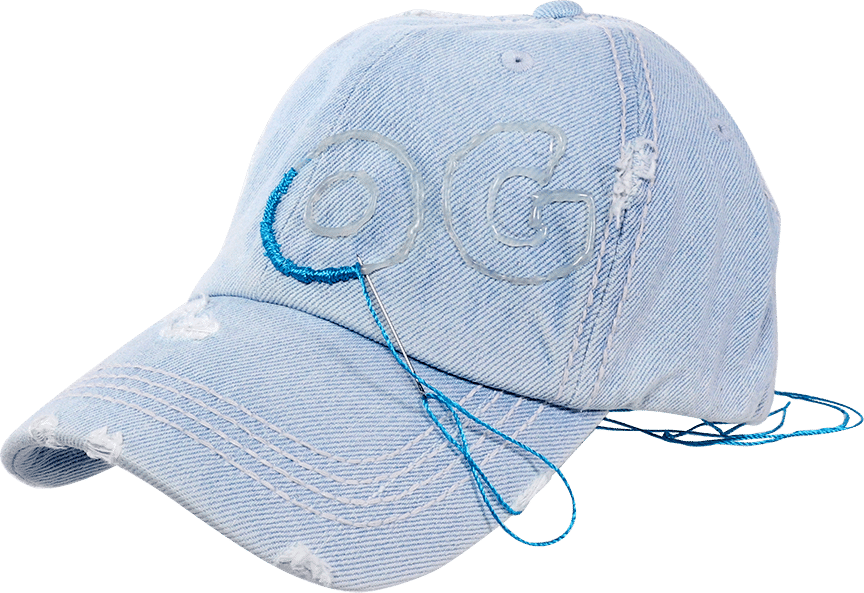
trace it in pencil onto your cap.
glue carefully along your pencil lines, and let dry.

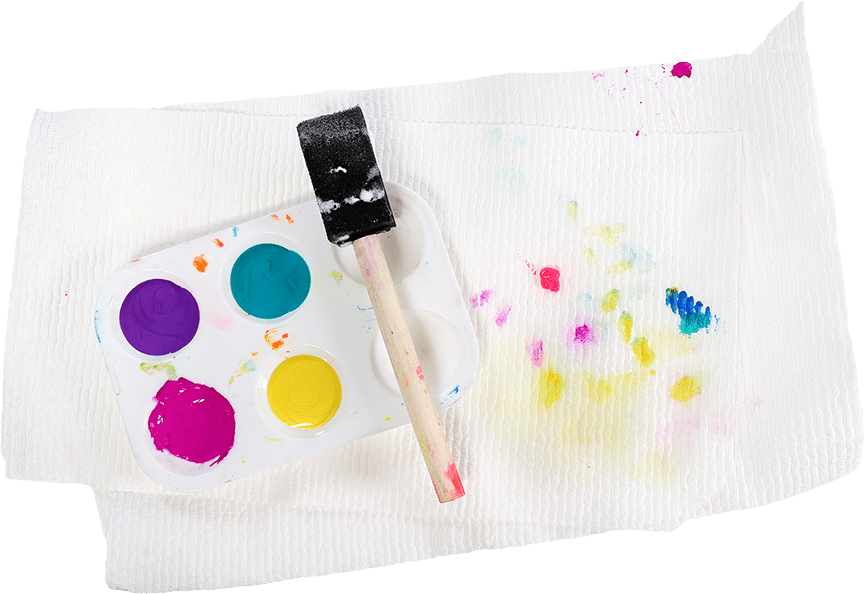
Start with a few colors that work together. This example shows bright paints and a foam brush. Check the paint label for fabric suitability, application directions and drying time before using it on your cap.
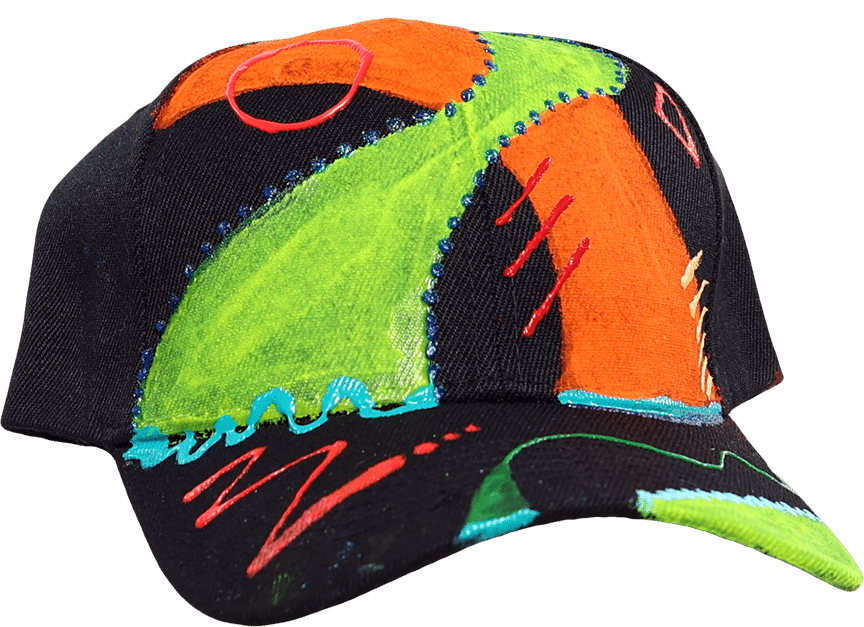
This black cap combines bold painted stripes with colorful stitching. Choose contrasting colors so your design stands out. Plan painted and stitched details on paper first, and let paint dry as directed before adding other decorations.
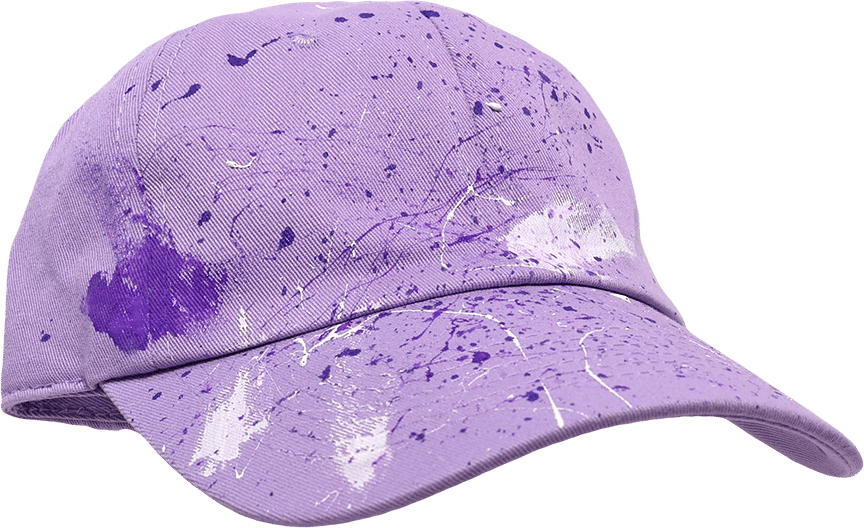
A purple cap becomes a colorful canvas for scattered paint marks. If you try a splatter design, protect your table and nearby surfaces and work with adult supervision. Test your paint and brush on scrap material first.
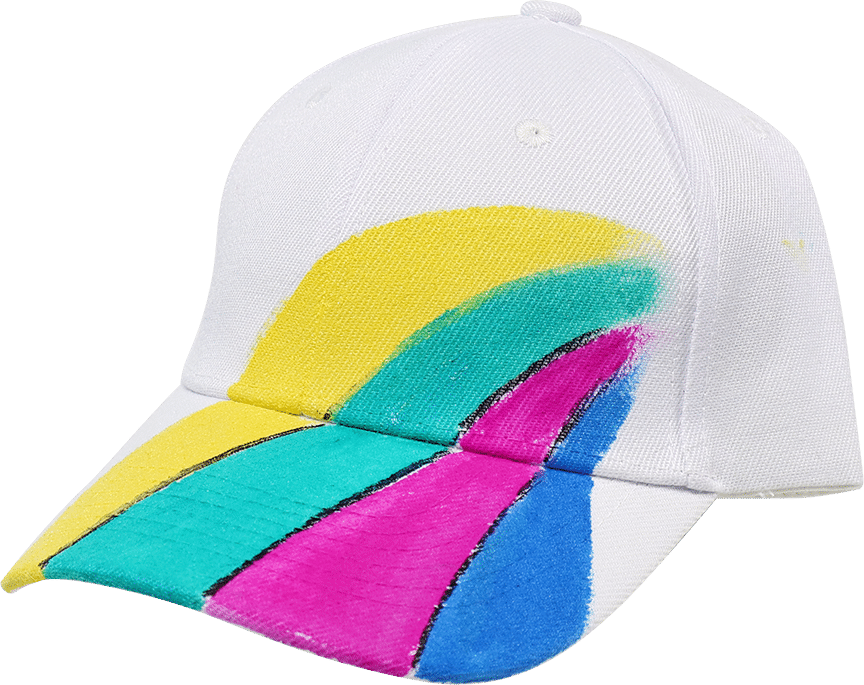
This white cap uses yellow, turquoise, pink and blue sections. Try following the existing cap panels or sketching your own shapes. Leave each area to dry according to the paint instructions before working next to it.
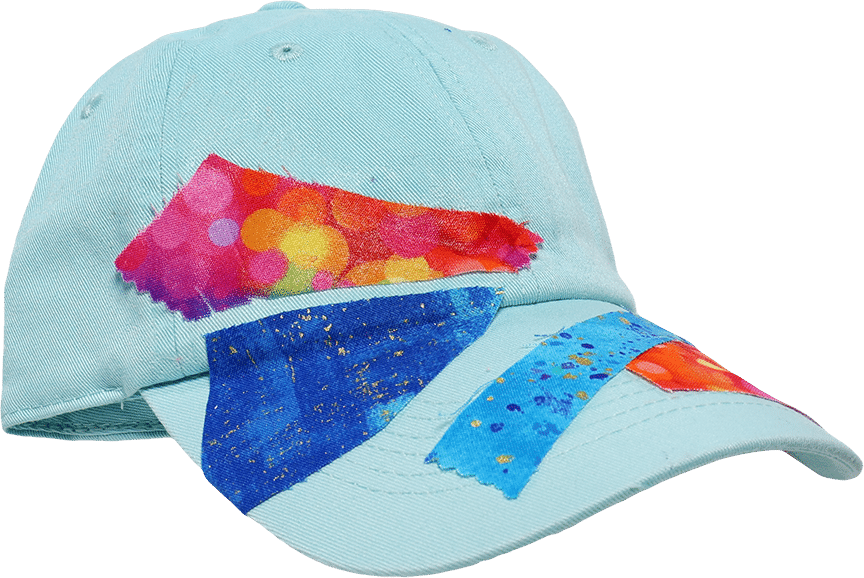
Small fabric patches give this pale blue cap a different texture and pattern. Arrange your pieces before attaching them, and choose a fabric-compatible method with an adult. Keep the inside comfortable and check that every decoration is securely attached before wearing.

CURIOUS JANE MAKER PROJECT
CURIOUS JANE MAKER PROJECT

CURIOUS JANE MAKER PROJECT