
A paper cup mini trash can gives tiny craft scraps a colorful home. This design uses two paper cups, craft sticks and a cardboard lid to explore how a miniature pedal bin might work. Decorate the outside with paper, tape or a playful label that suits your making space.
Treat this as an open-ended design challenge with an adult. The photos introduce the cup, lid and pedal components; the lid-to-pedal connection is not shown in full. Plan and test that connection before expecting the lid to lift. An adult should handle craft-knife or needle work and supervise any hot glue.
Start with clean, dry cups and save small paper offcuts for decorations. Try one change at a time when testing your model, and use it for dry craft scraps only. For more reuse inspiration, see the New York State guide to reuse or choose another idea from our DIY project library.
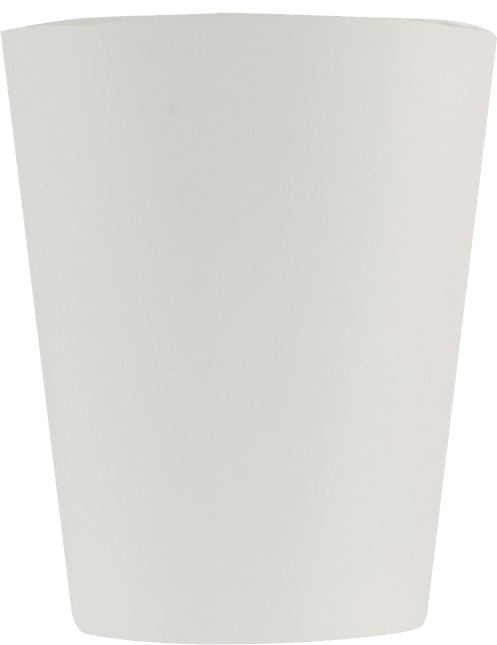
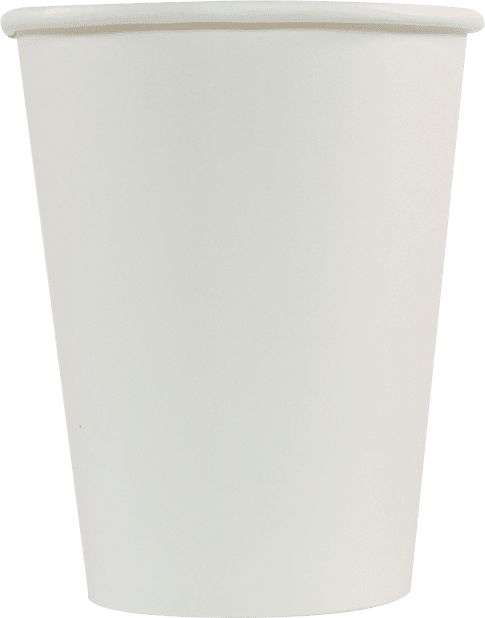
cut the top half inch off of one of the paper cups; this is the inner cup. cover the un-cut cup in colorful paper if you like; this is the outer cup.
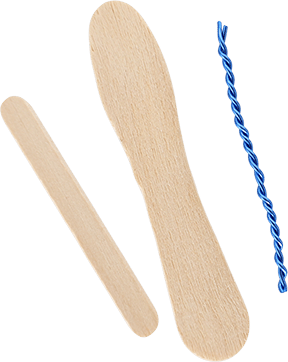
trace and cut a circle, from cardstock or thin cardboard, that is the size of the outer cup. this is the lid.
cut a small slit very near the base of the outer cup. make it as wide as the craft stick.
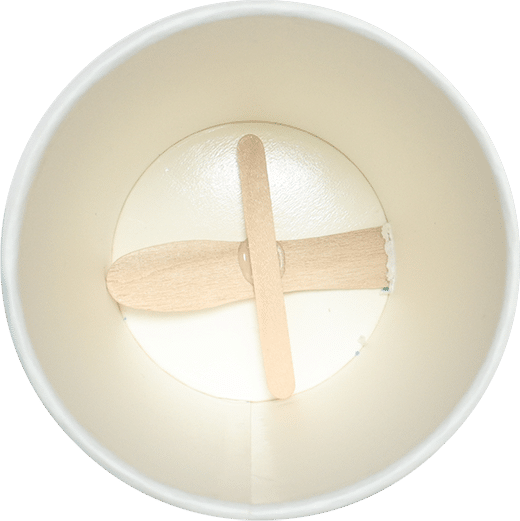
insert the craft stick so it sticks out a bit on the front, and reaches all the way to the back, on the inside of the cup. this is the step for the trashcan.
glue the other craft stick across it on the inside of the can.
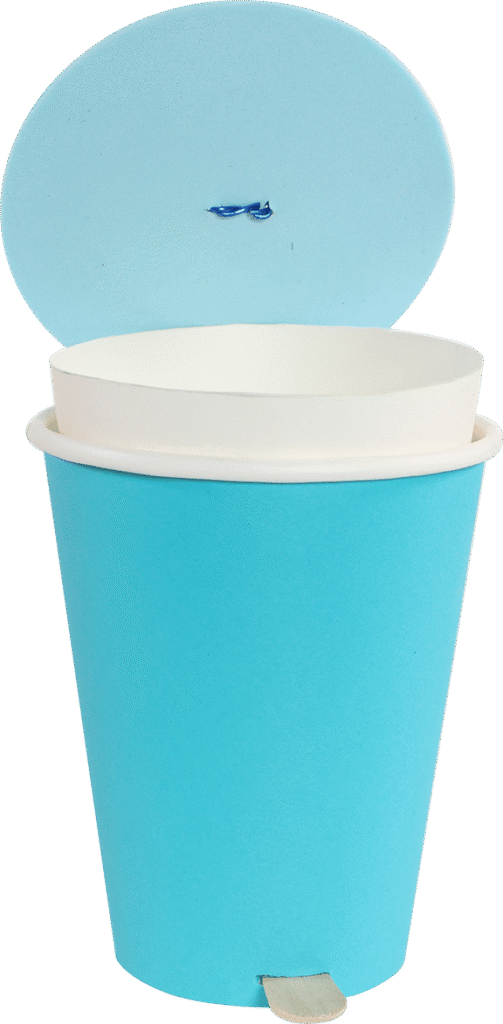
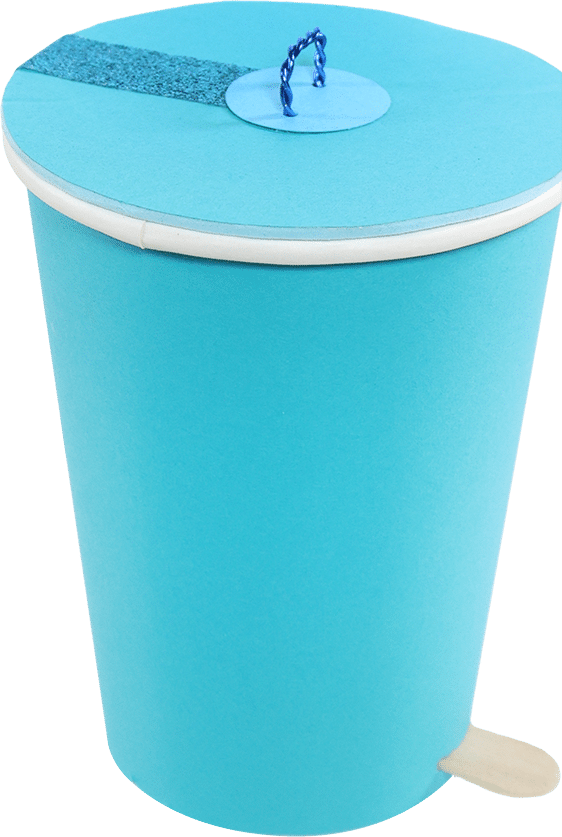
Test your design: With an adult, check how your planned connection transfers movement from the pedal to the lid. Press gently and watch which parts move. If the lid does not lift, adjust one part of your design and test again. The photographs do not show a complete lid-linkage assembly.
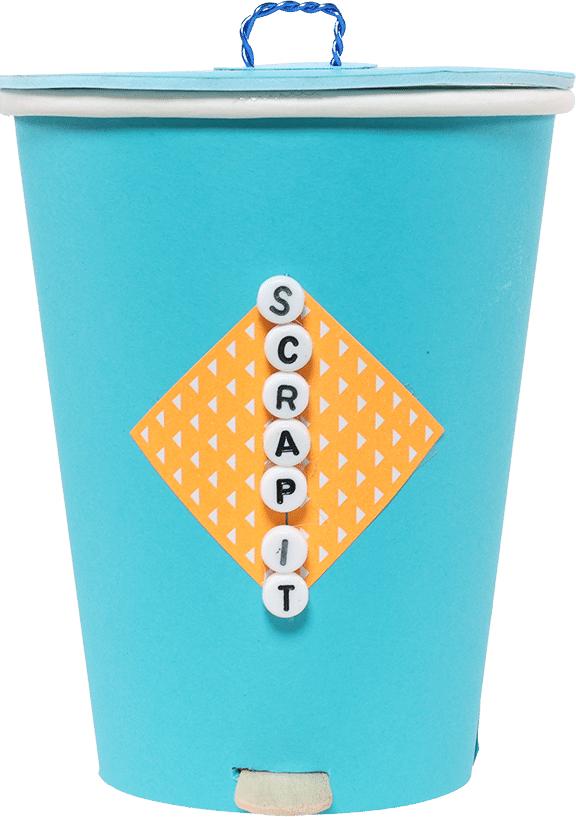
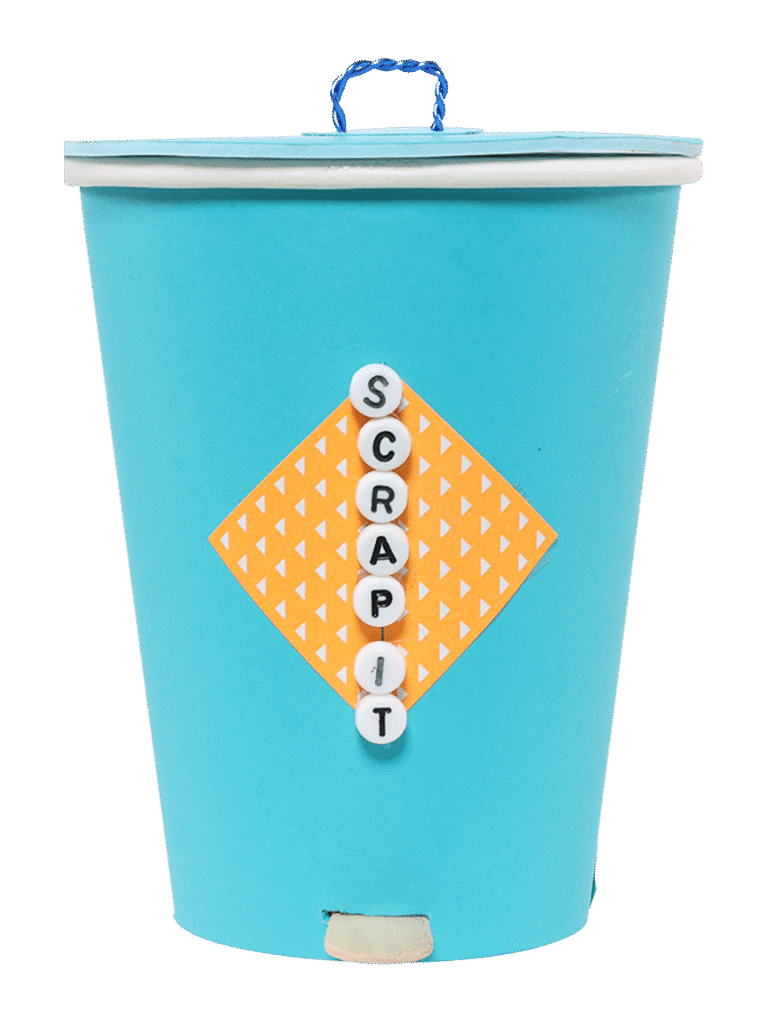
Give your paper cup mini trash can a name. This blue example uses a contrasting paper shape and letter beads to make a “Scrap It” label. Try your own color combination or draw a label with markers.
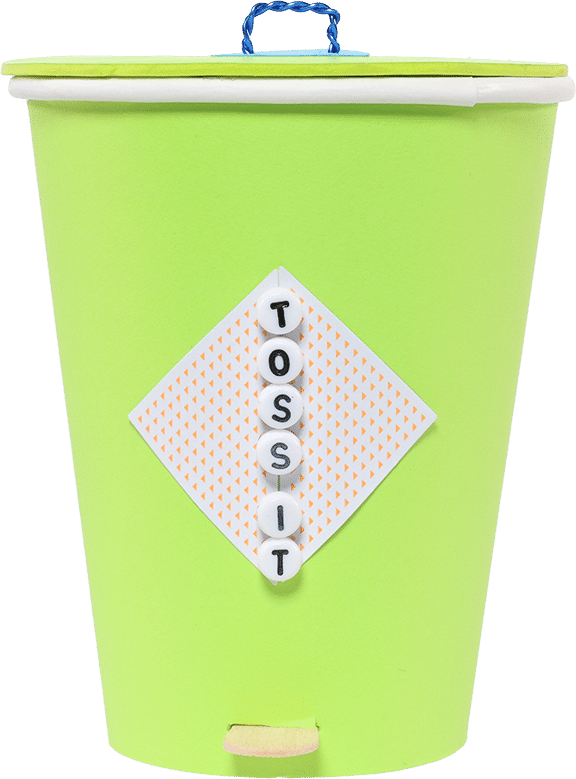
This green version pairs a bright cup with a “Toss It” label. Keep decorations clear of moving parts, and leave the lid easy to lift while you experiment with the mechanism.

CURIOUS JANE MAKER PROJECT
CURIOUS JANE MAKER PROJECT

CURIOUS JANE MAKER PROJECT