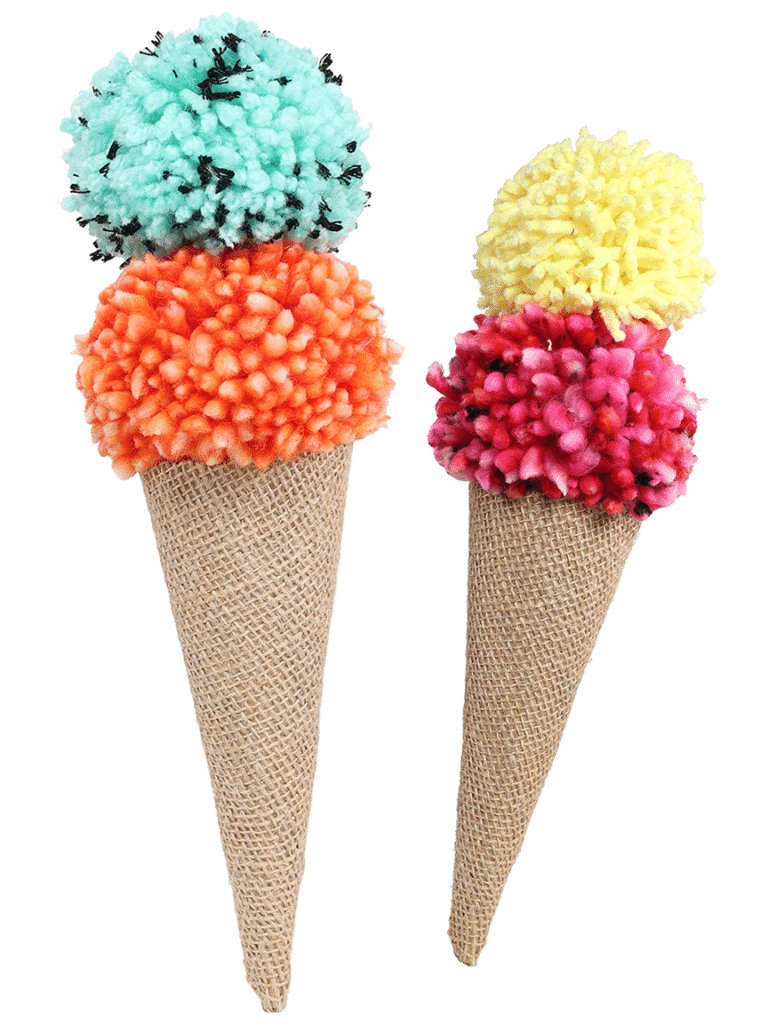
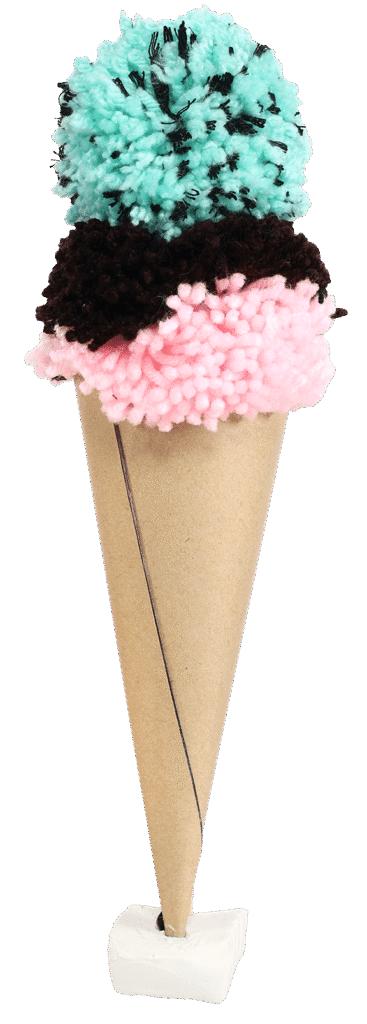
these treats won’t melt in the heat! our pom pom how-to guides you through specific flavors. you can keep it simple with single-color scoops, or quick and easy with pre-made pom-poms
cut your cardstock to a 7x7in square. (ours is double-sided in color, so it’s easier to follow the photos)
maker tip
these are very detailed instructions for making a cone, based on a lot of trial and error on our parts! the double-sided tape helps. you can, of course, make your own cone in exactly the way you like.
02
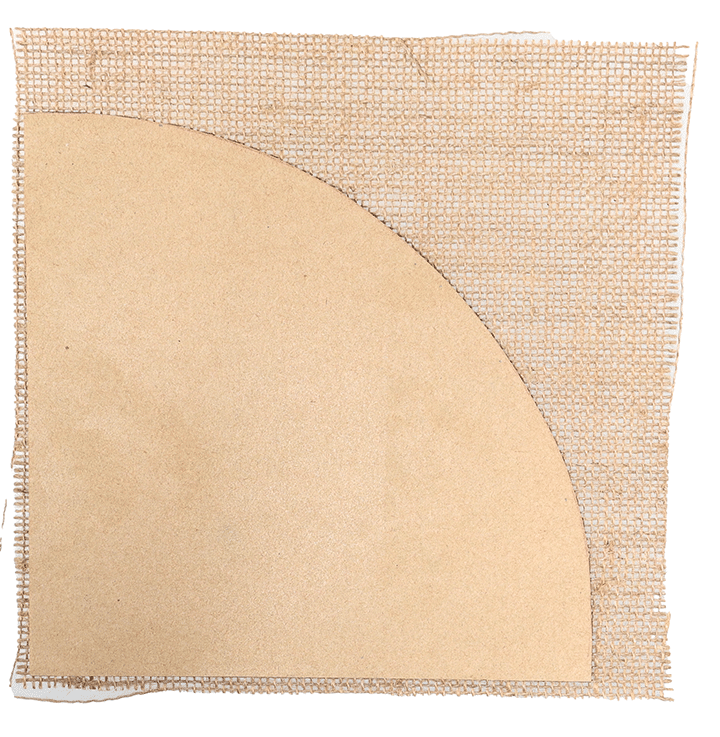
measure and trace an arc from one corner to the opposite the radius is 7-inches. we used a large bowl to trace the arc, but you can measure a few points using a ruler or you can use a compass to be precise.
03
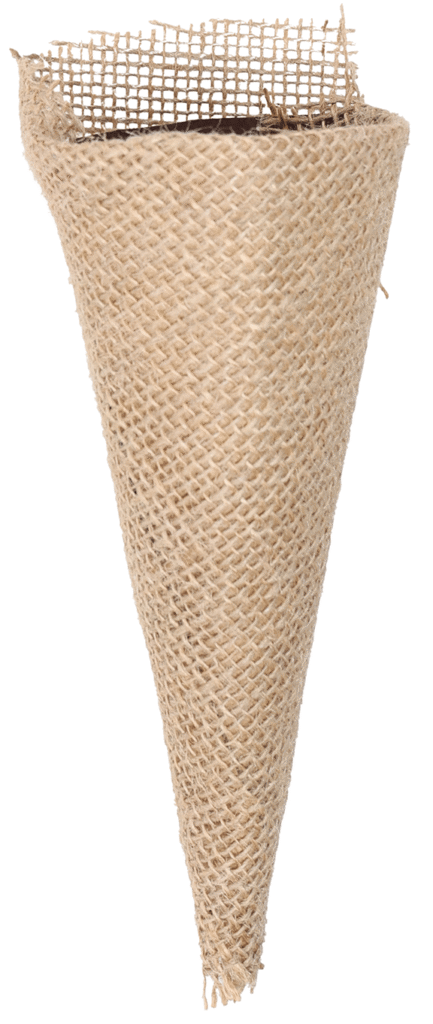
cut a square of burlap about 8x8inches.
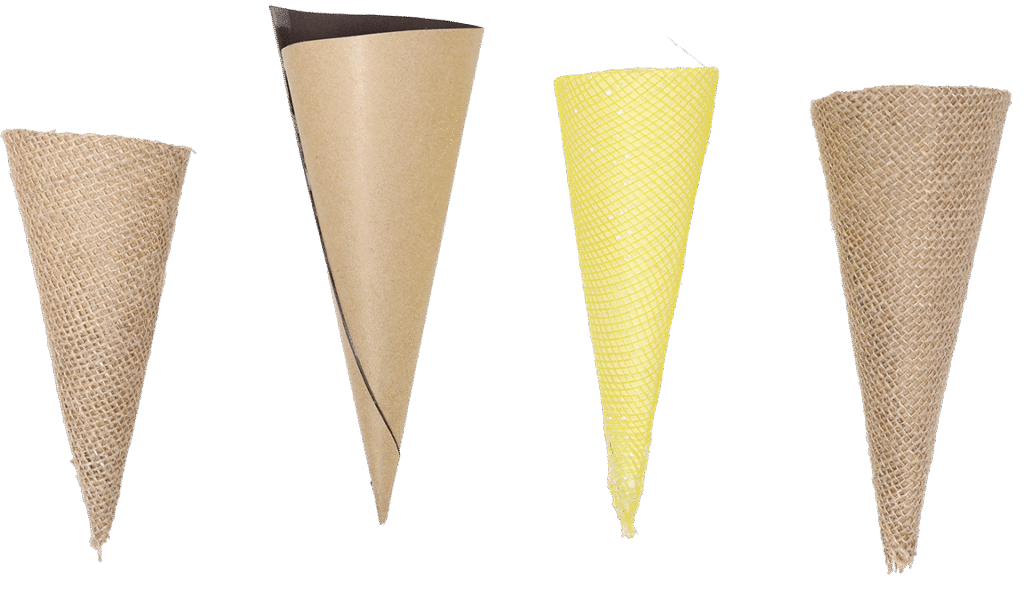
wrap your paper cone with burlap or sparkly mesh, or leave it plain
04
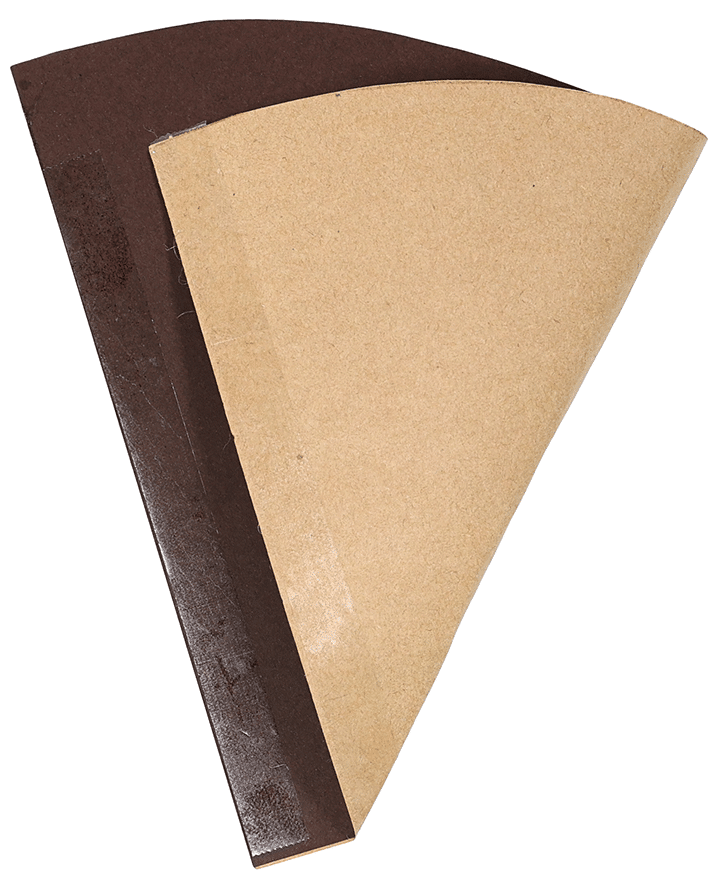
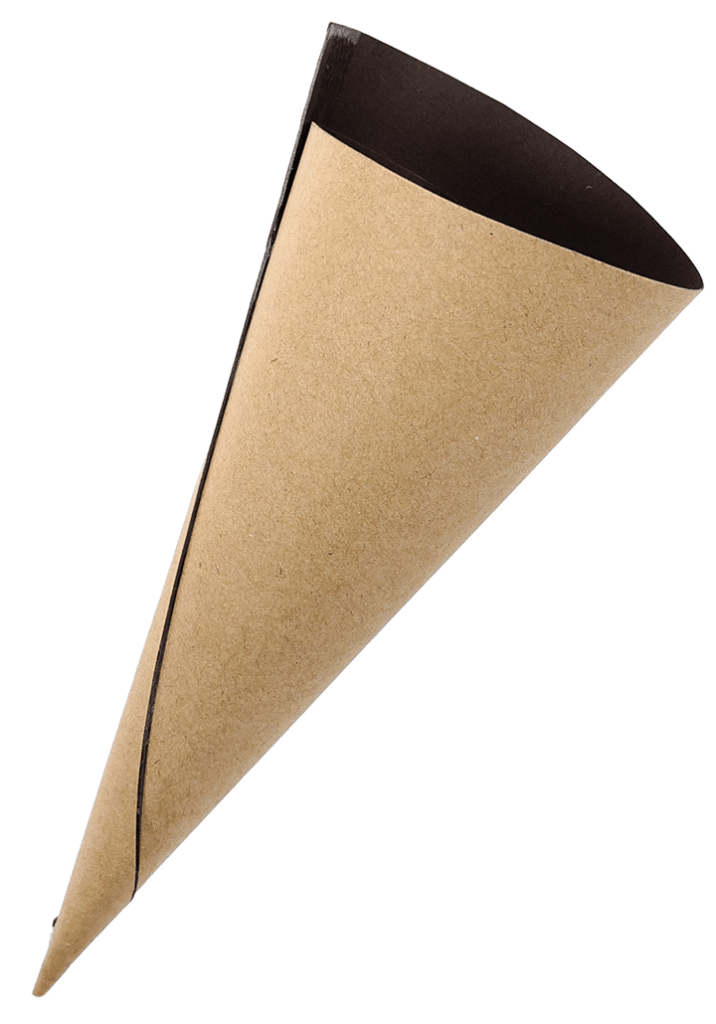
place a strip of double-sided tape along the straight edge of one side of the triangle. flip it over and place a strip of double-sided tape along the other. this makes it easier to roll your cone.
05
crease the paper about 1 inch to create the point of your cone.
06
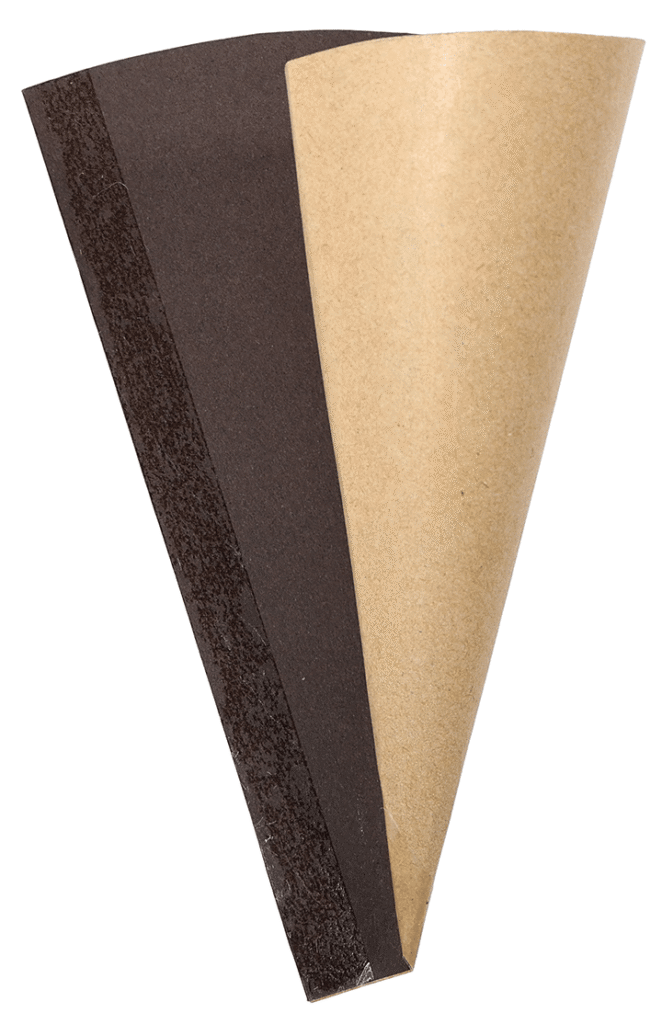
roll into a cone shape, pressing along the double-sided tape as you go, so that it holds its shape.
07
wrap fully around and secure with tape or glue. trim the top to even it out (like a sugar cone) or leave it as-is (like a waffle cone). trim as needed so the diameter is the right size for your pom pom scoops!
08
set on the burlap, aligning the point of the cone to a corner of the square.
09
glue one edge of burlap and wrap fully around. glue the other seam to finish it off. trim and fold the top bits in, glue in place inside the cone.
How-to MAKE THE scoops (mint chocolate chip)
1
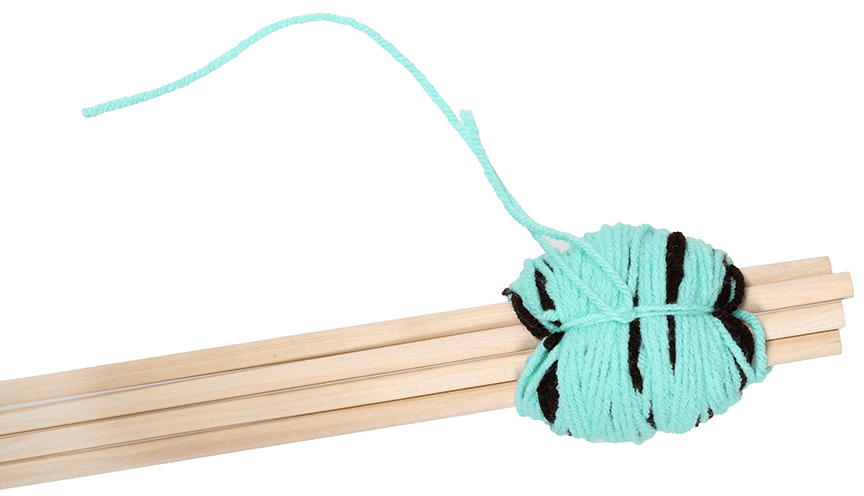
cut a piece of dark brown yarn about 12in long and loop it evenly around your middle finger. let it hang – you’ll use this at the end to tie off your pom pom.
02
wrap mint green yarn around three of your fingers 40 times and cut from the ball.
03
wrap brown yarn around your fingers 10 times, spreading it randomly over the green.
04
repeat steps 1, 2 and 3, two more times, so that you have (about!) 150 layers of yarn looped around. 40 green, 10 brown, times 3.
05
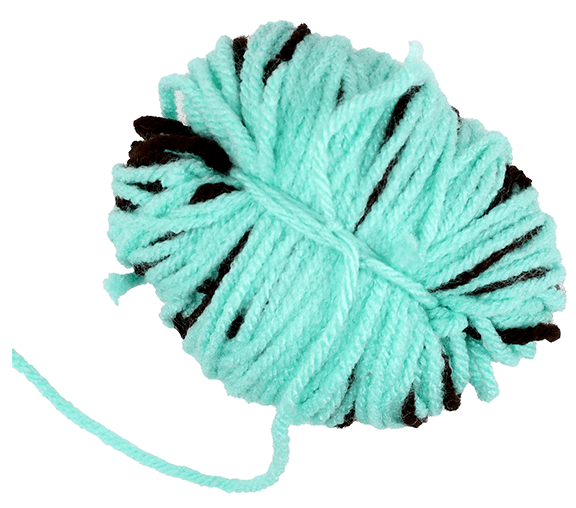
tie the loose pieces of brown yarn around the wrapped yarn and carefully slide the yarn bundle off your hand.
06
pull the brown yarn tight and tie it in a double knot around the center of the bundle.
07
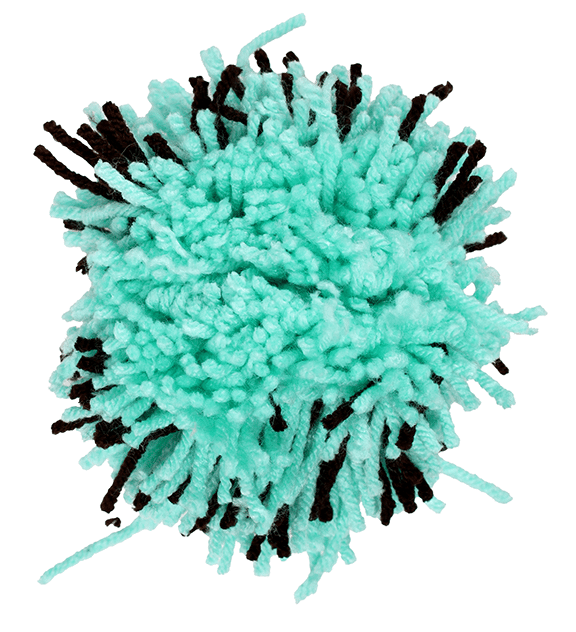
cut through the loops of yarn to create a rough pom pom shape. use sharp scissors and cut carefully!
08
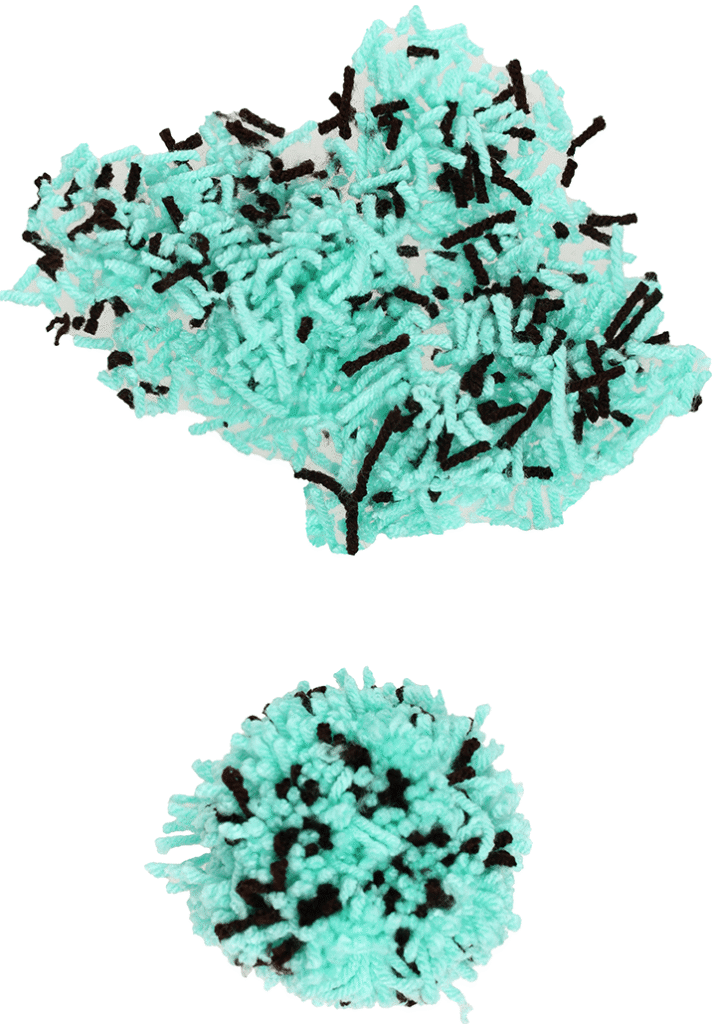
trim it into a perfect scoop of ice cream.
tip!
don’t be afraid to give your pom pom a serious haircut. it takes quite a bit of snipping to shape it into a scoop.
How-to MAKE THE scoops (strawberry & syrup)
01
cut a piece of dark brown yarn about 12in long and loop it around your middle finger, just like the first scoop.
02
wrap a new piece of dark brown yarn around three of your fingers 60 times and cut it off from the ball
03
wrap pink yarn around your fingers. start by overlapping it slightly with the brown yarn and continue towards the tips of your fingers, wrapping it 90 times before cutting it off.
04
follow the same steps (5 through 7) as the first scoop of ice cream, to remove and tie off your pom pom.
05
trim it into a scoop of ice cream, with the chocolate sauce at the top.
How-to MAKE THE scoops (mint chocolate chip)
01
glue the strawberry scoop into the cone and glue the mint chocolate chip on top.
02
stretch a bit of cotton ball into a swirl of whipped cream, and glue it to the top.
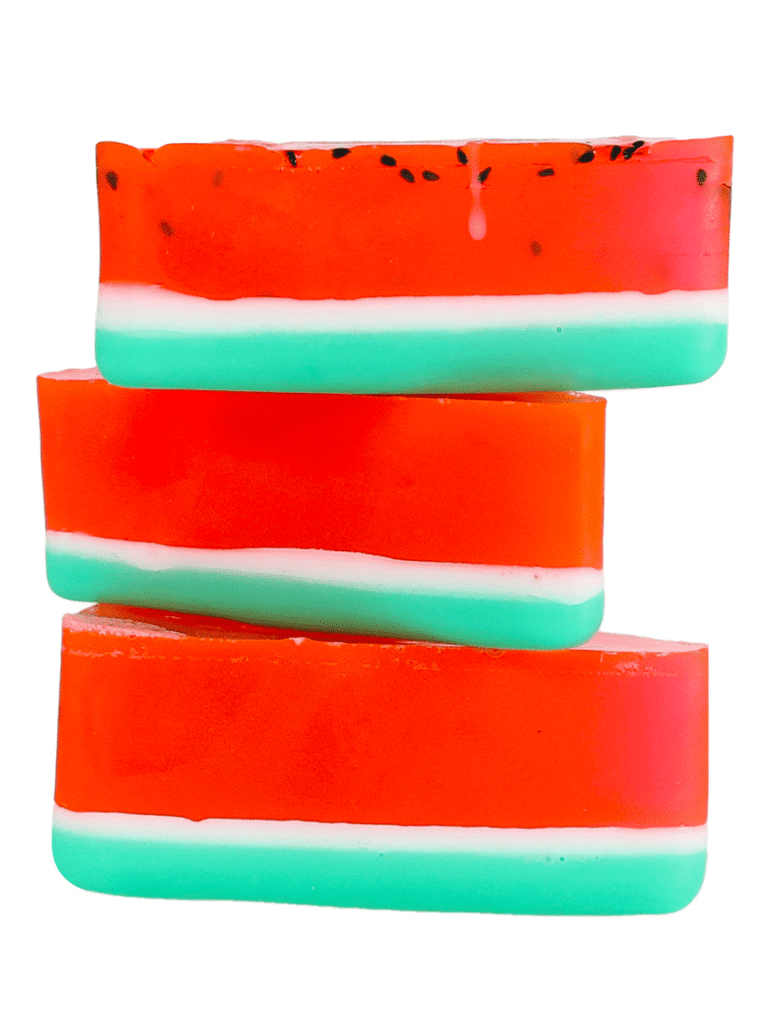
this was easier to make than we thought! keep your eye on the microwave when you are melting the soap and soften it as needed. the ‘cake slice’ silicone mold makes this a cinch!
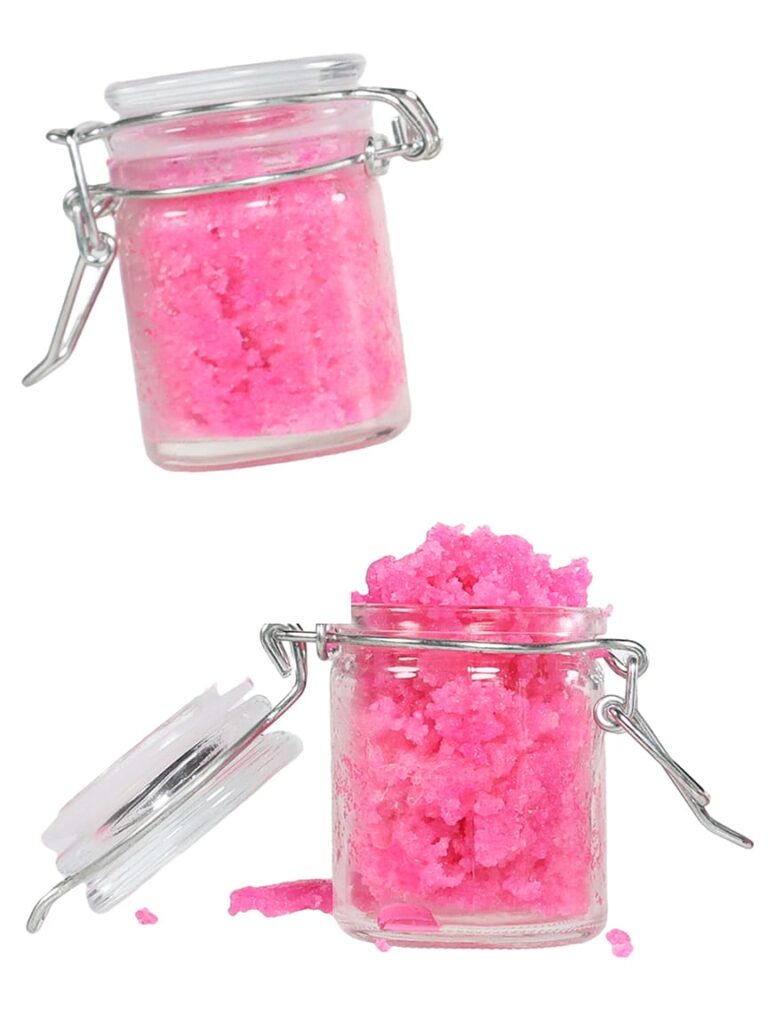
a sugary lip scrub with summer flavor! this recipe makes enough for 2 mini mason jars. one of our favorite parts of the project was hunting for just the right little pots for our scrub.
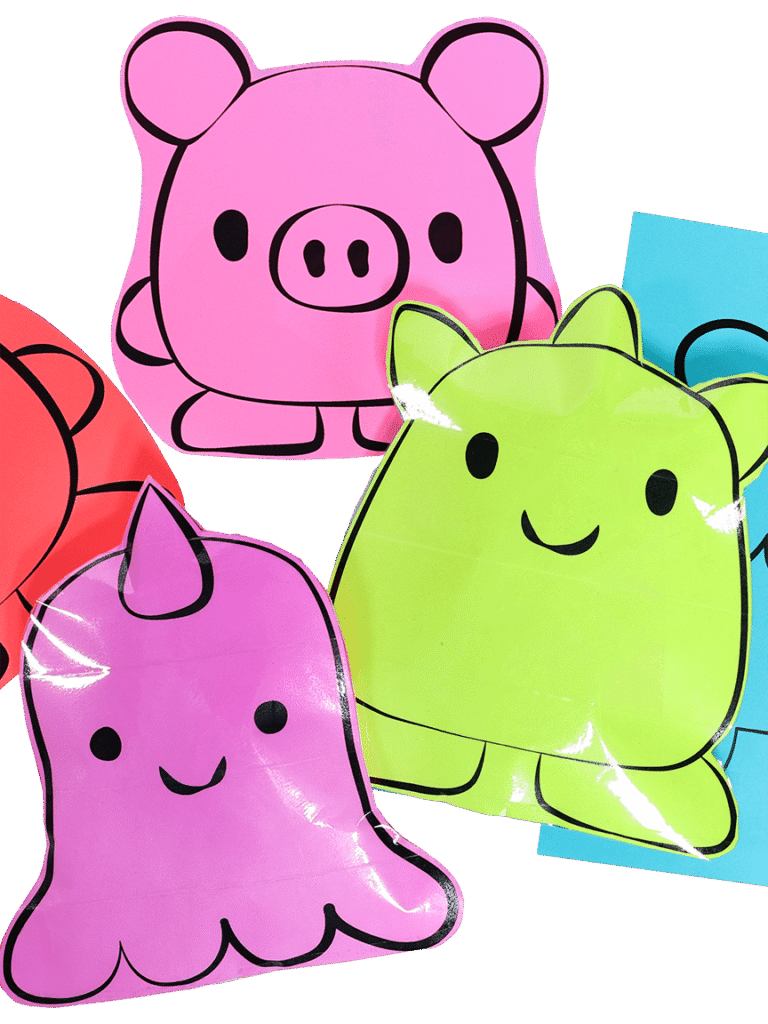
DIY a set of squishies with a lot of character! make your designs clever and quirky while keeping the shapes simple. use soft fiber stuffing or cellophane filling for a crinkly sound.