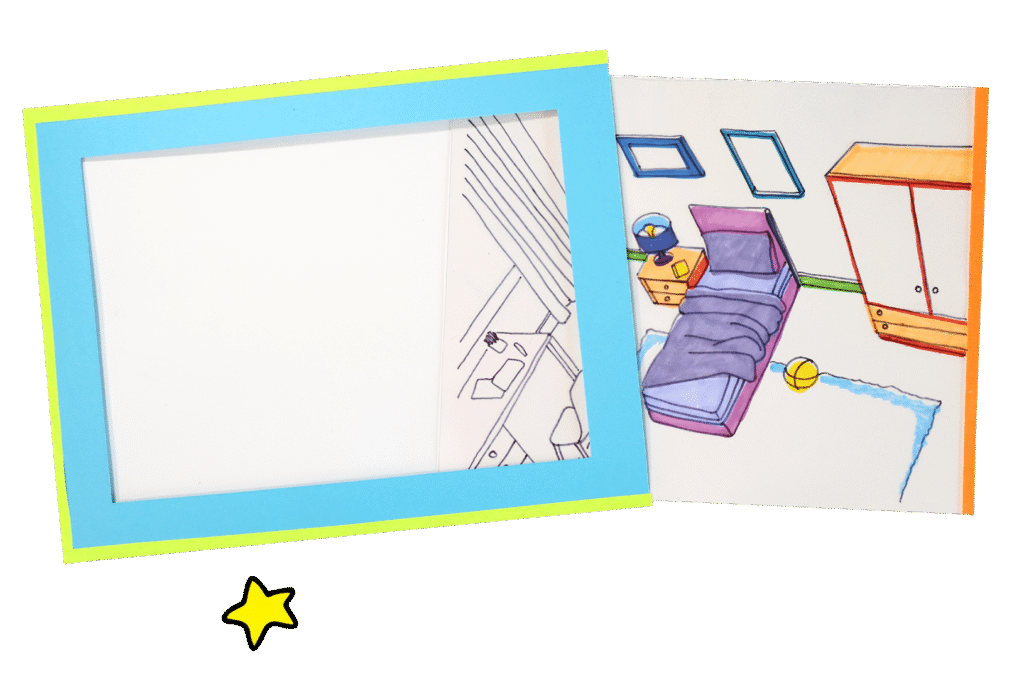
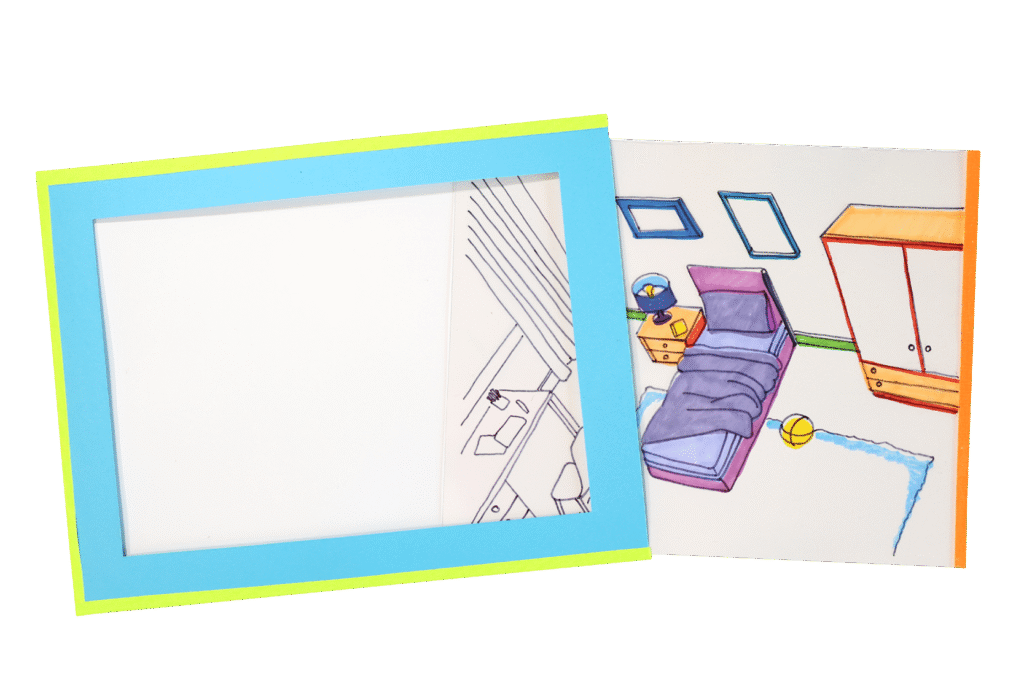
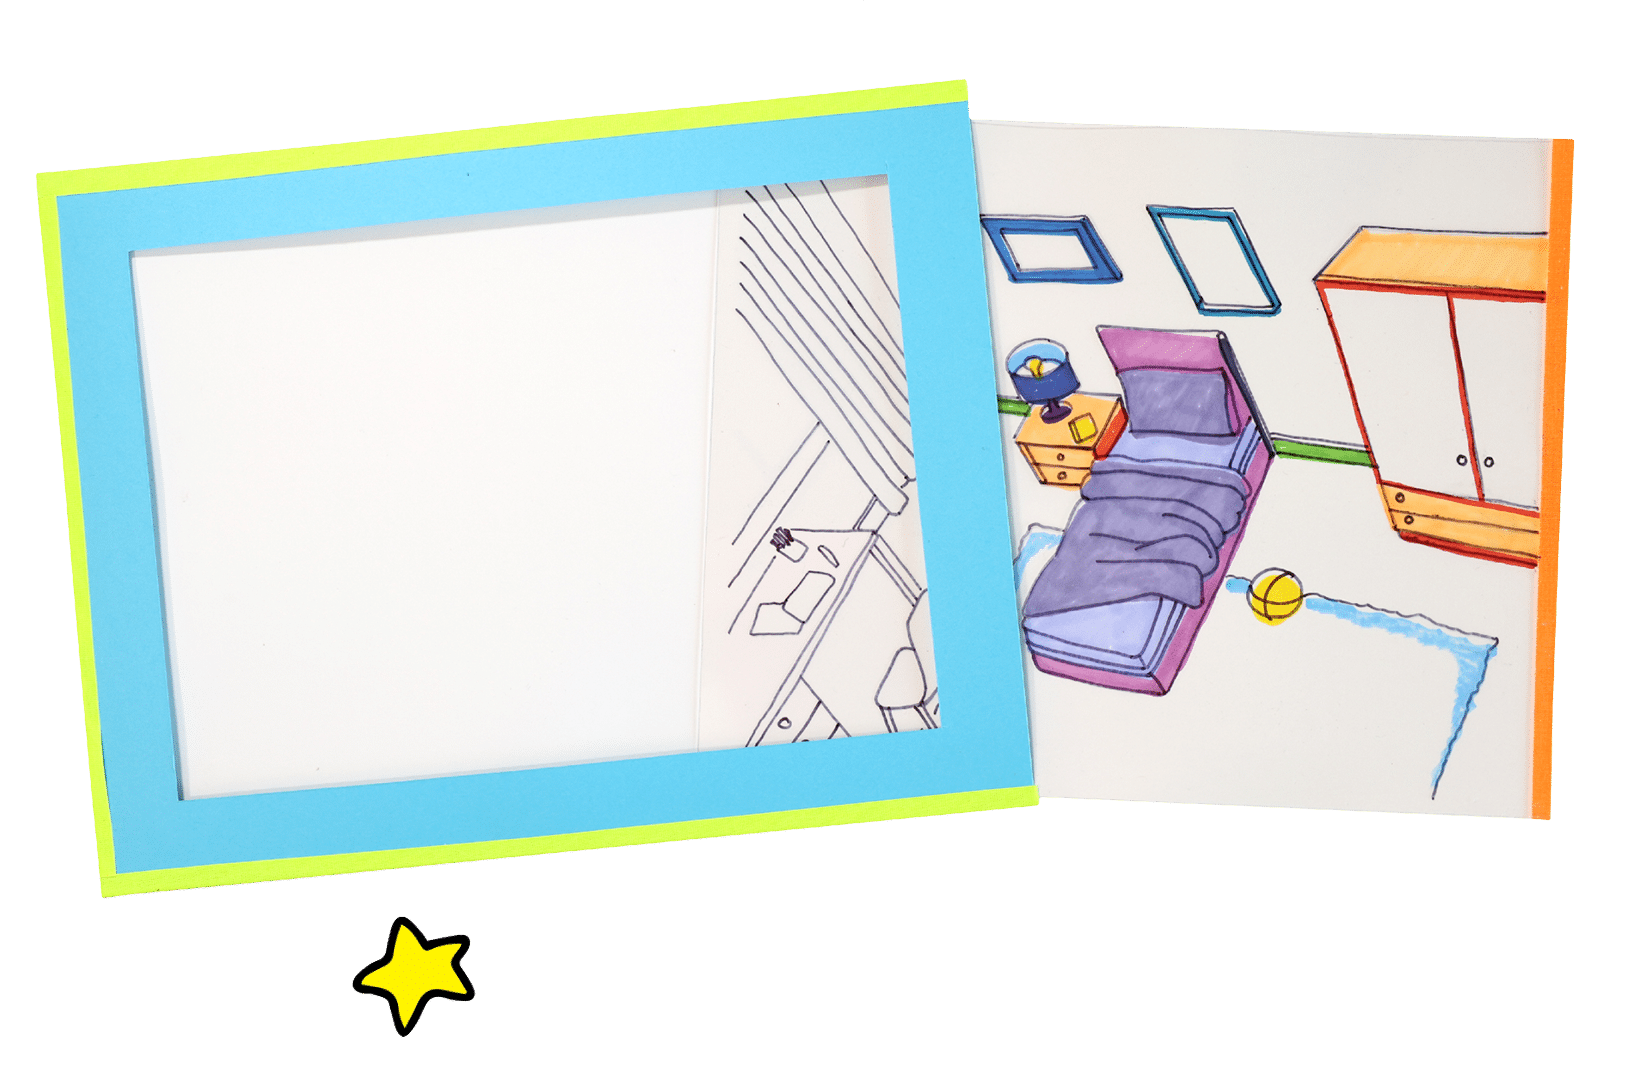
this project is simple to construct and packs a huge punch. even when you know exactly how it is made (and how the trick is played), the reveal is still a wow every time.
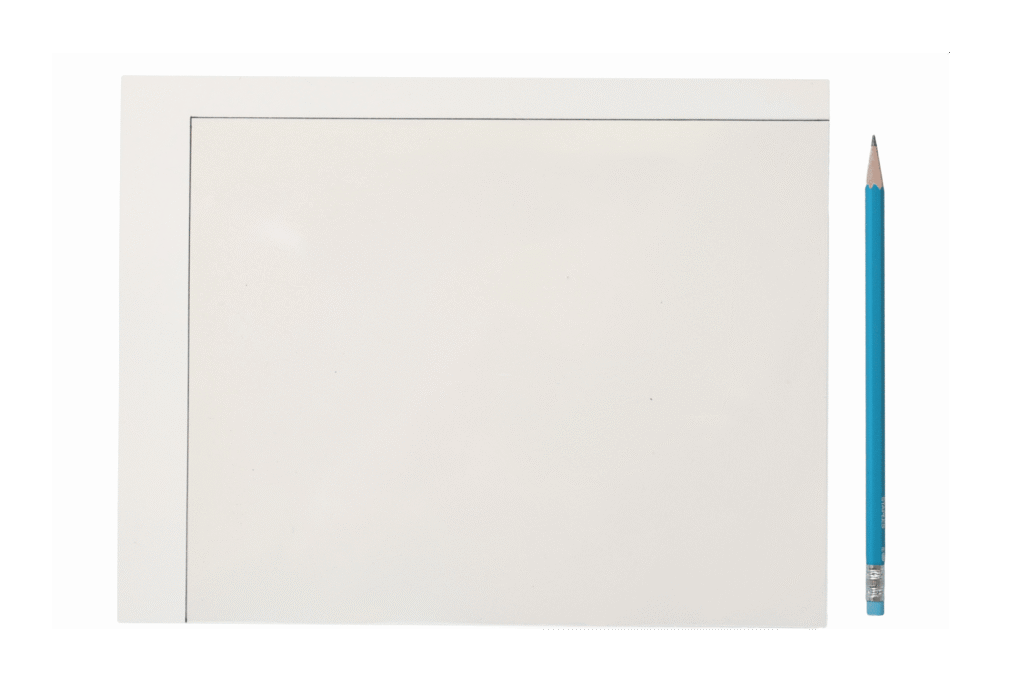
cut a sheet of transparency and a sheet of white cardstock to 8×10 inches.
02
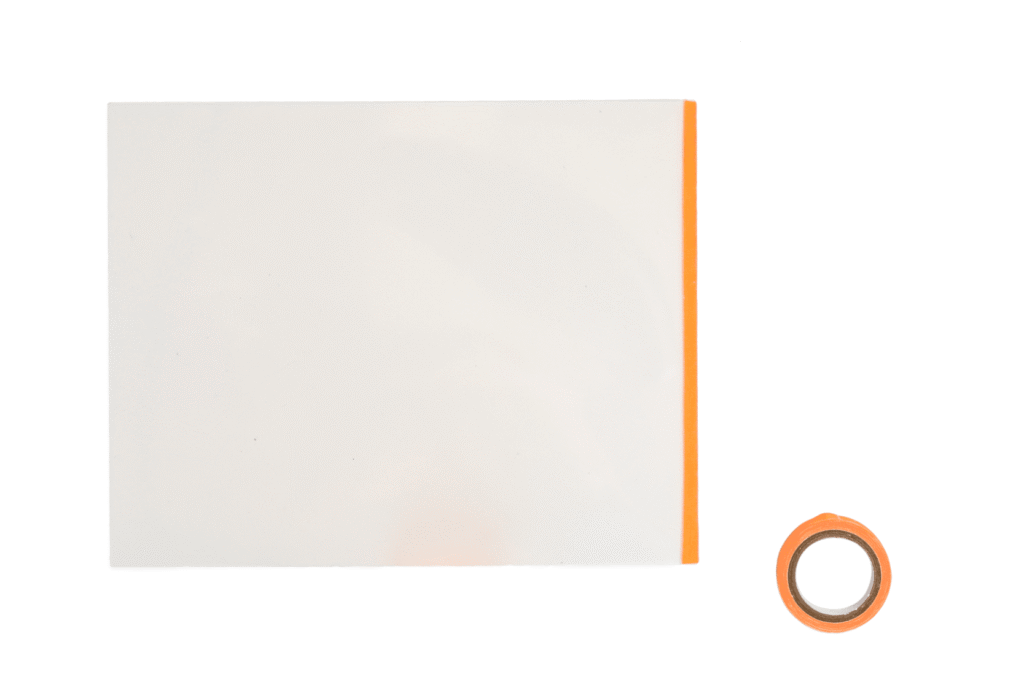
tape the two together, securely across the 8-inch edge. make sure the sheets are well aligned. set aside. (you’ll come back to it in the drawing and coloring step!)
03
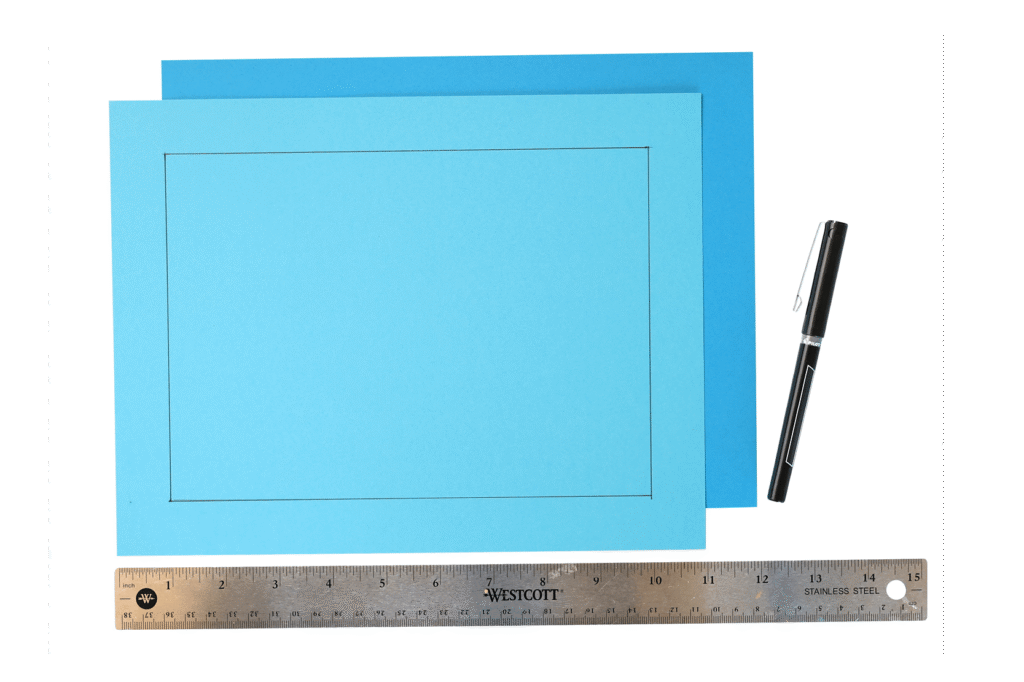
measure 1-inch in from each side of one sheet of colorful cardstock. cut out the rectangle and use for another project.
04
stack a sheet of white cardstock on the full sheet of colorful cardstock, and tape along the bottom (8 1/2 inch) edge.
05
layer the first (cut) sheet of cardstock on top to create a frame. tape securely around 3 edges, leaving the top open. set aside.
maker tip
you have a sandwich. solid sheet on the bottom. white sheet in the middle. frame on top. they are attached around 3 sides but left open along the top. the insert (which we made in step 1+2) will slide in along the open edge.
06
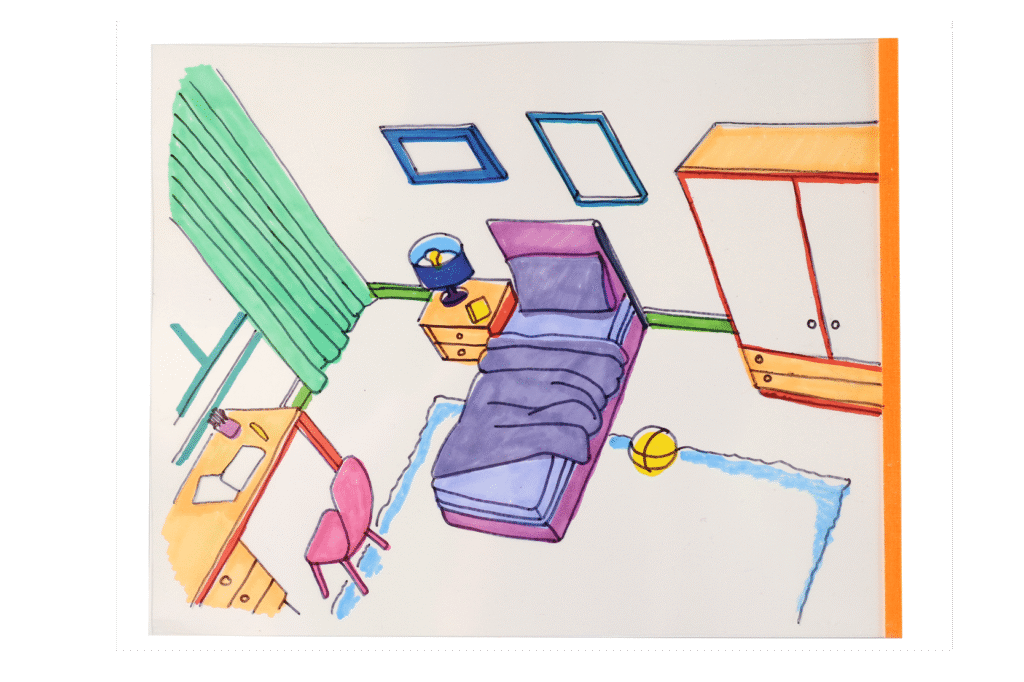
unfold the transparency from the white cardstock, and – working on the paper – create a drawing in pencil, then color it in with markers.
maker tip
draw lightly enough so that the pencil lines can be erased.
07
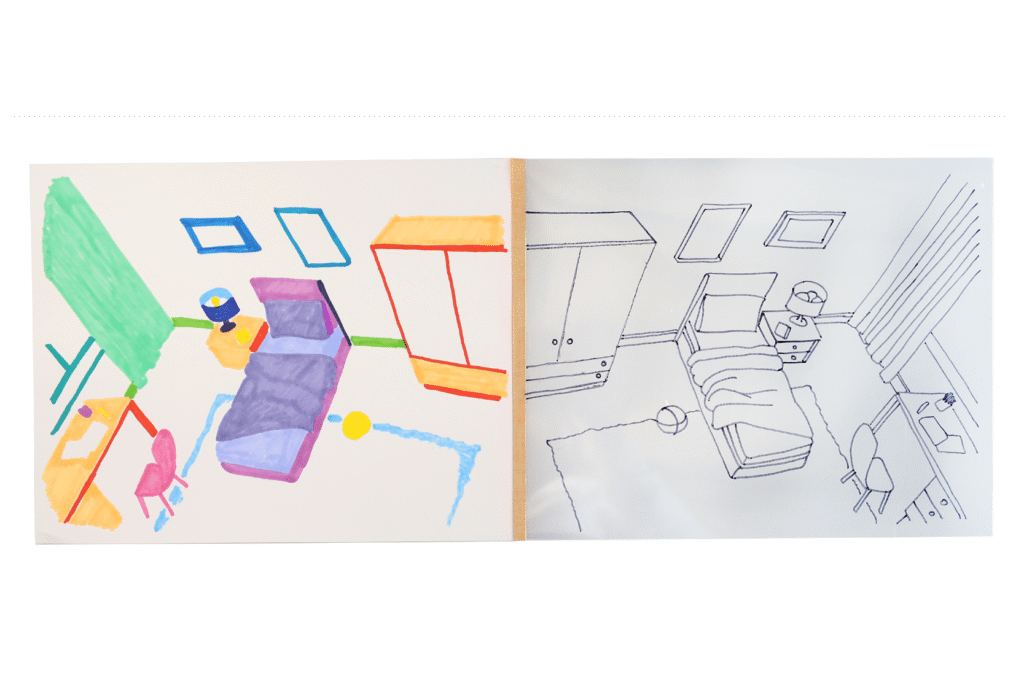
fold the transparency back on top and – working on the transparency – trace all the outlines of the drawing in permanent black marker.
maker tip
when you open it again, you will have a mirror image drawing – one in color and the other in black outline.
08
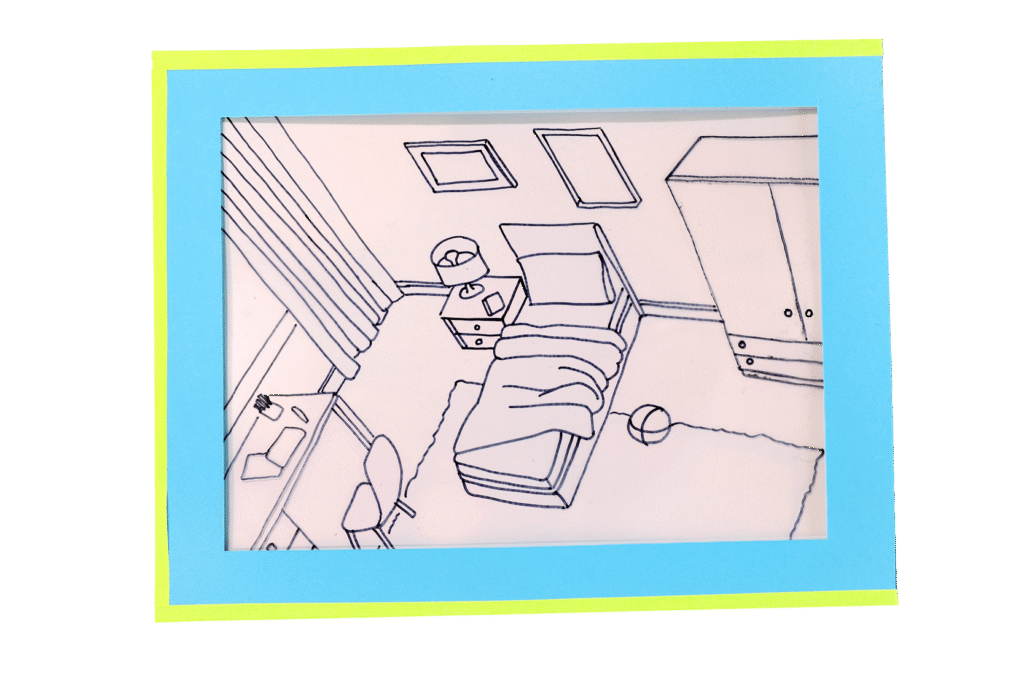
insert the drawing into the frame so that the colorful sheet lies under the white inner sheet and the transparency with the black line drawing lies on top of the inner sleeve and shows through in the frame.
09
reveal the color by sliding the drawing out of the frame. as you pull it away, the color is revealed underneath – like magic!
maker tip
when you open it again, you will have a mirror image drawing – one in color and the other in black outline.
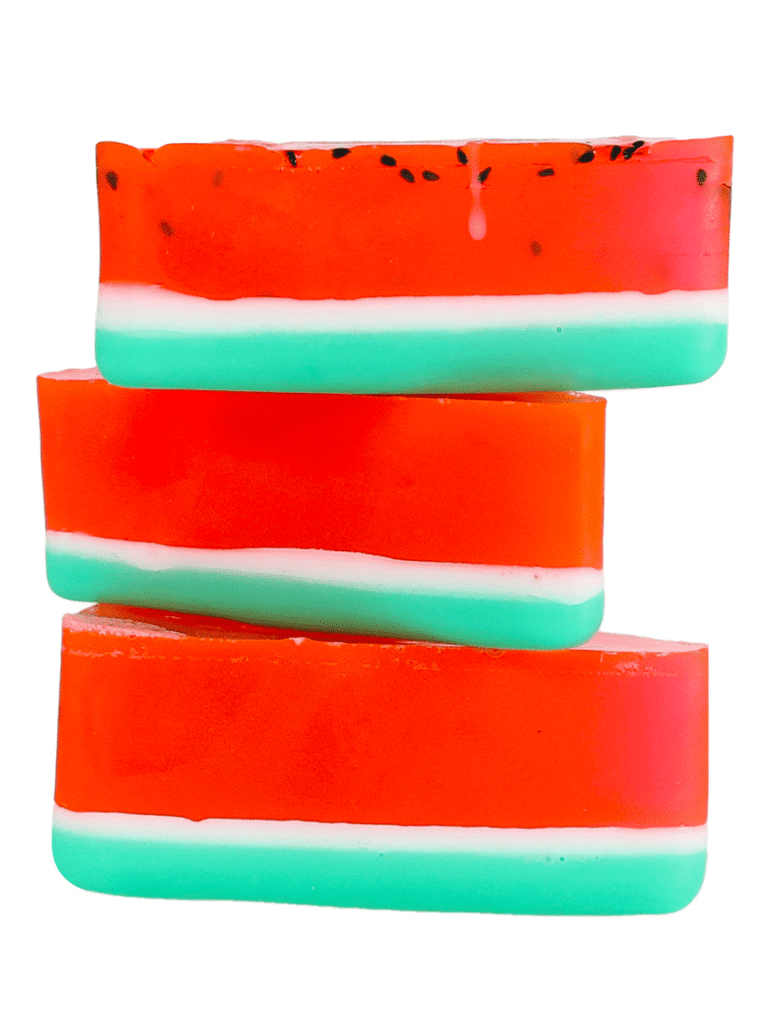
this was easier to make than we thought! keep your eye on the microwave when you are melting the soap and soften it as needed. the ‘cake slice’ silicone mold makes this a cinch!
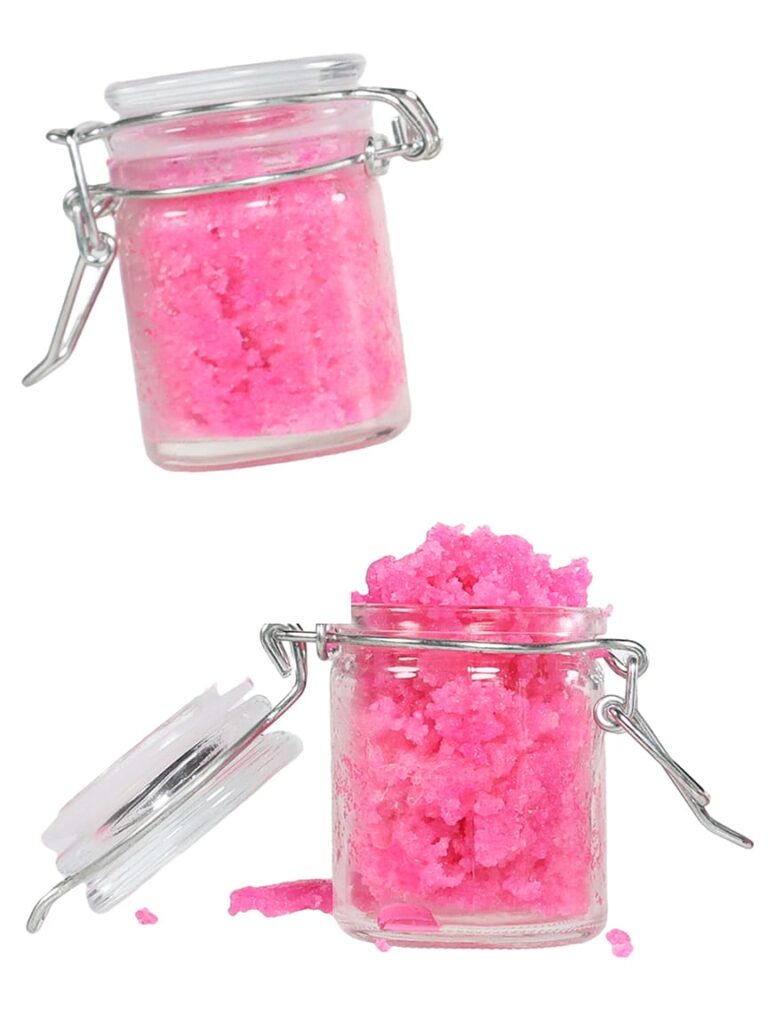
a sugary lip scrub with summer flavor! this recipe makes enough for 2 mini mason jars. one of our favorite parts of the project was hunting for just the right little pots for our scrub.
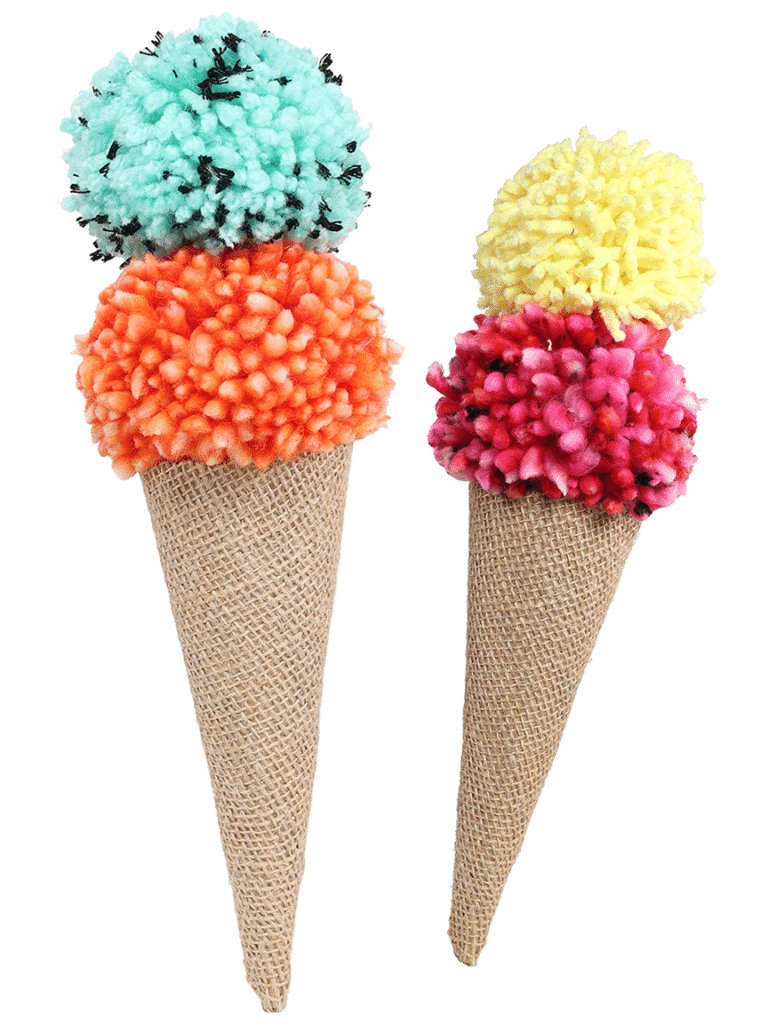
these treats won’t melt in the heat! our pom pom how-to guides you through specific flavors.
you can keep it simple with single-color scoops, or quick and easy with pre-made pom-poms.