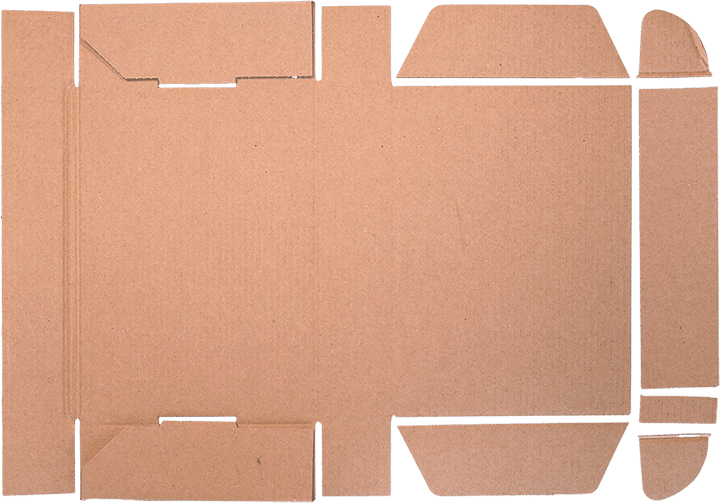
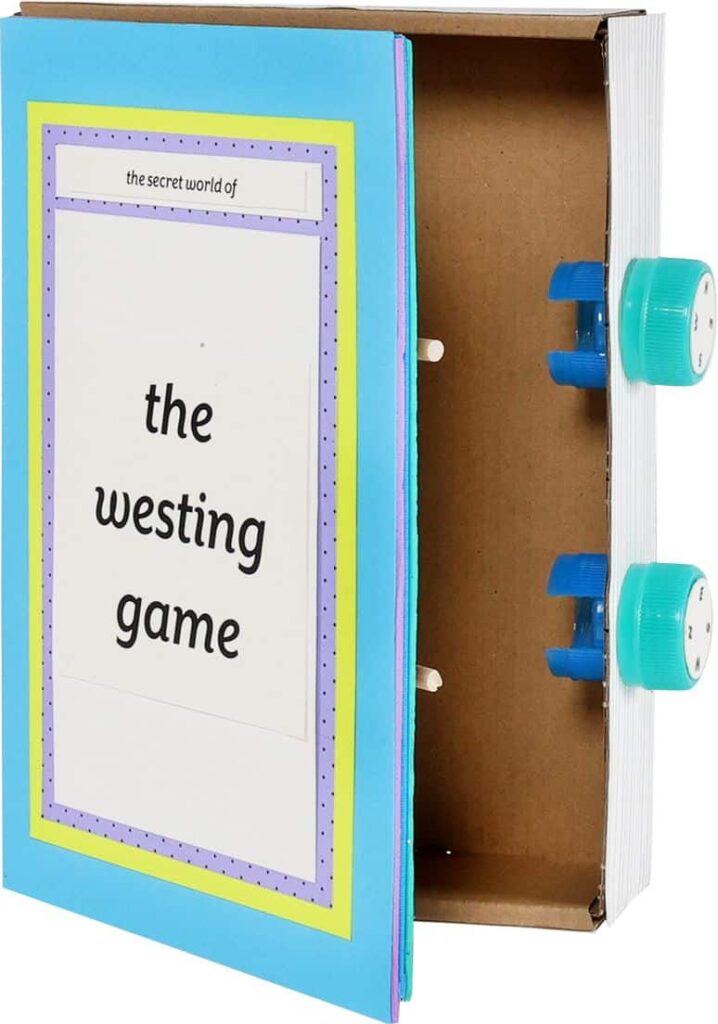
trim your box so that the top attaches to the bottom only along one side.
maker tip
note! if you’re using a box with a separate lid, trim both short sides, and one long side from the lid. then, attach the lid to the box along the remaining long side.
02
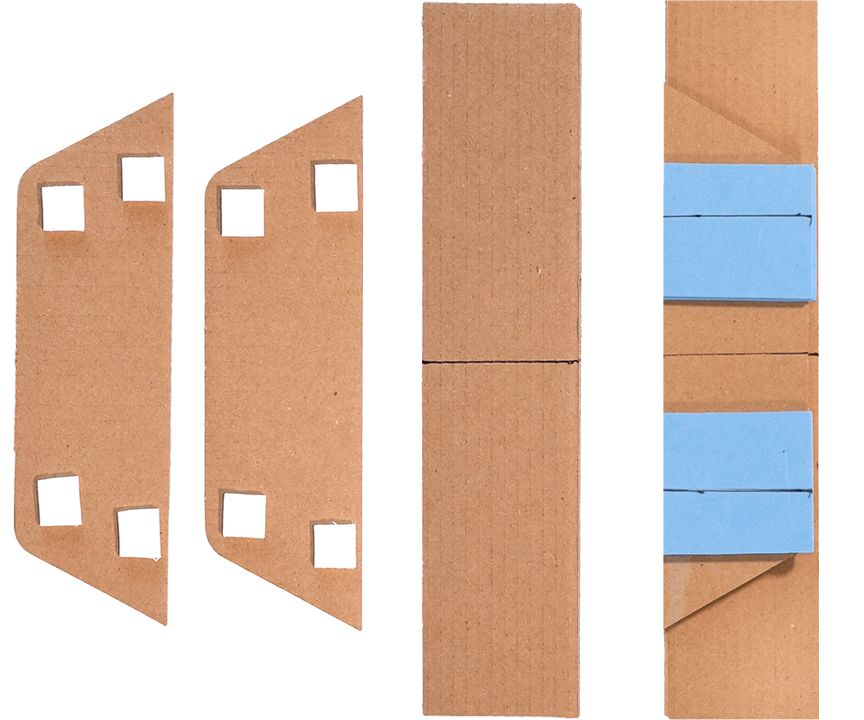
build up a spacer with small bits of cardboard. attach them with glue or adhesive foam squares. the spacer should be almost as wide as the box, but should not touch the edges.
03
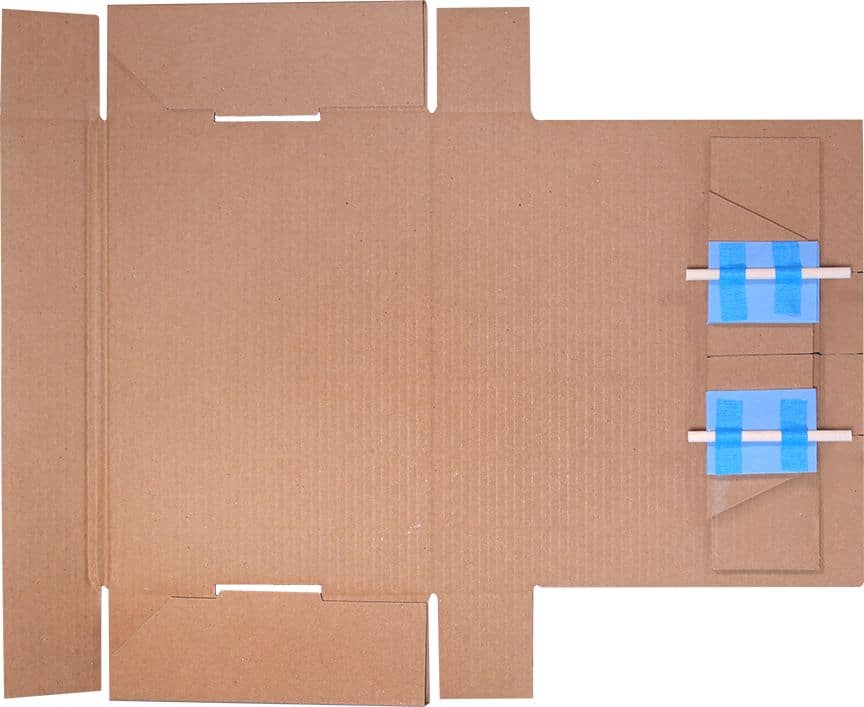
glue the spacer to the inside lid of the box, making sure to leave space around all sides so the box will close.
04
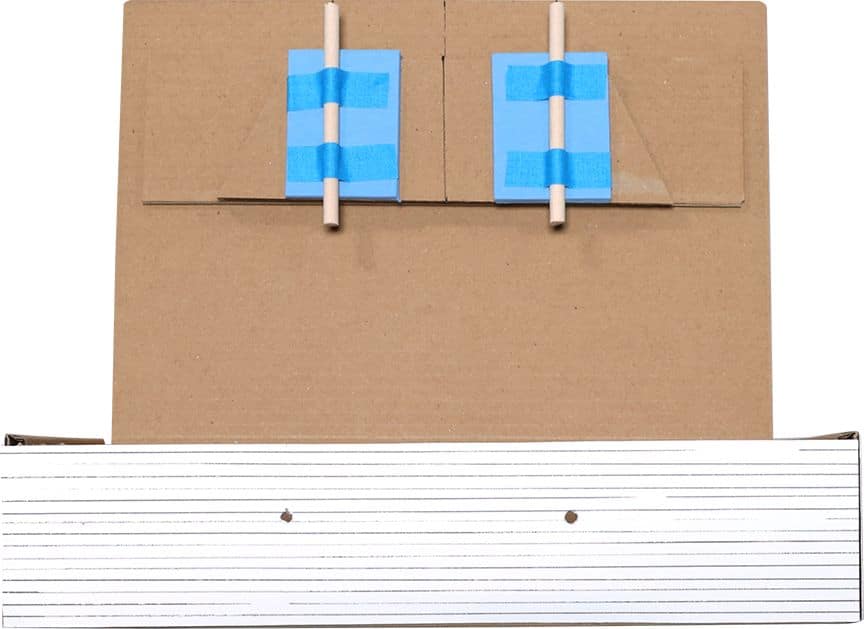
measure and mark a placement for the dowels. set them about three inches apart and set them back from the edge by 1/4 inch. they should be positioned to *catch* the bottle caps.
05
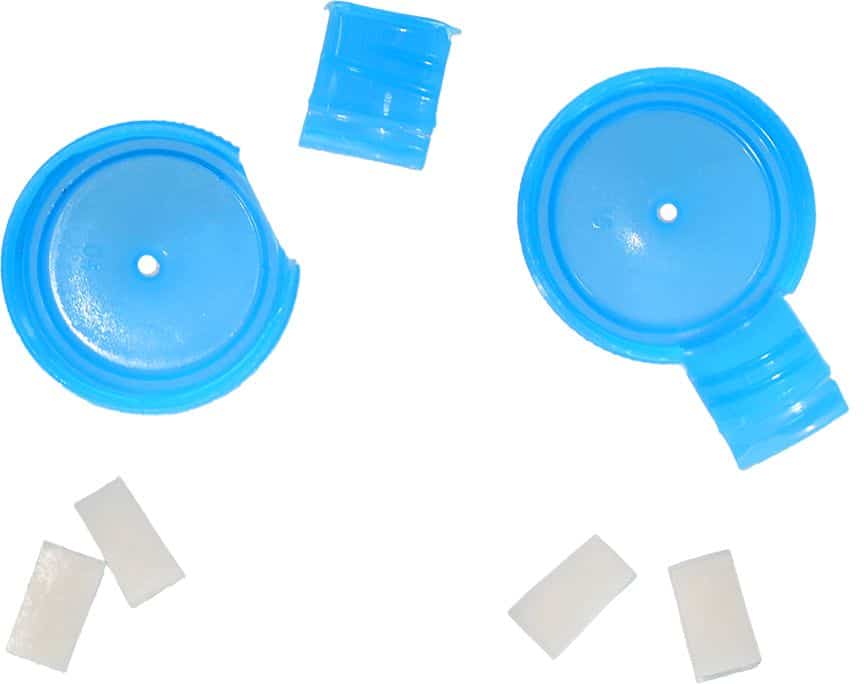
pierce a hole in the center of two of the bottle caps, and cut a piece from the side of each of these caps. this should leave a gap that is about twice as wide as the dowel.
06
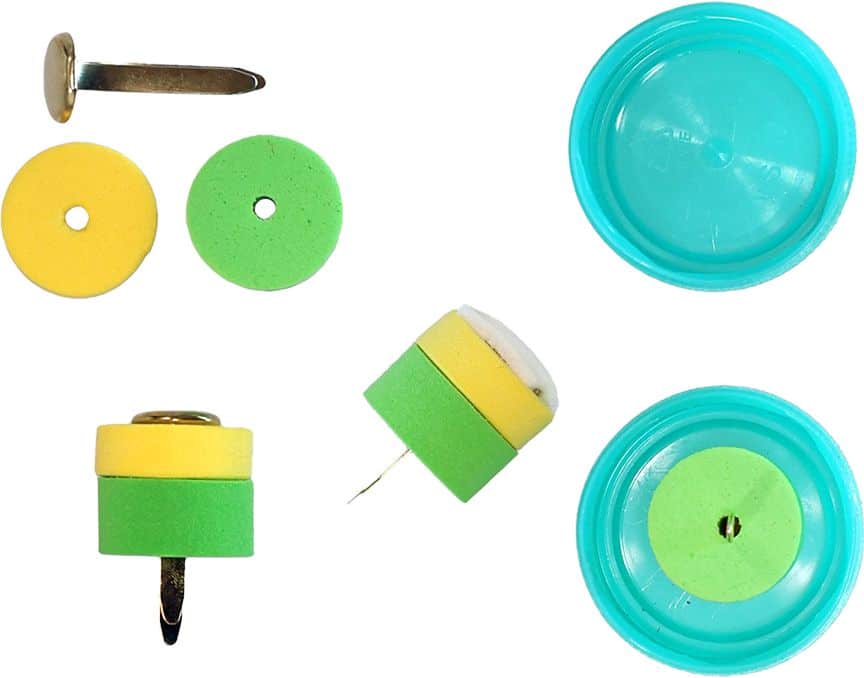
stack small foam spacers so they are the height of the remaining bottle caps. slide a brad through the center of each and attach these to the inside of the caps, using a square of adhesive foam tape or hot glue. make sure it is a firm connection.
07
measure and pierce holes in the front of the box at the exact same points as the dowels, and about 3/4 inch down from top.
08
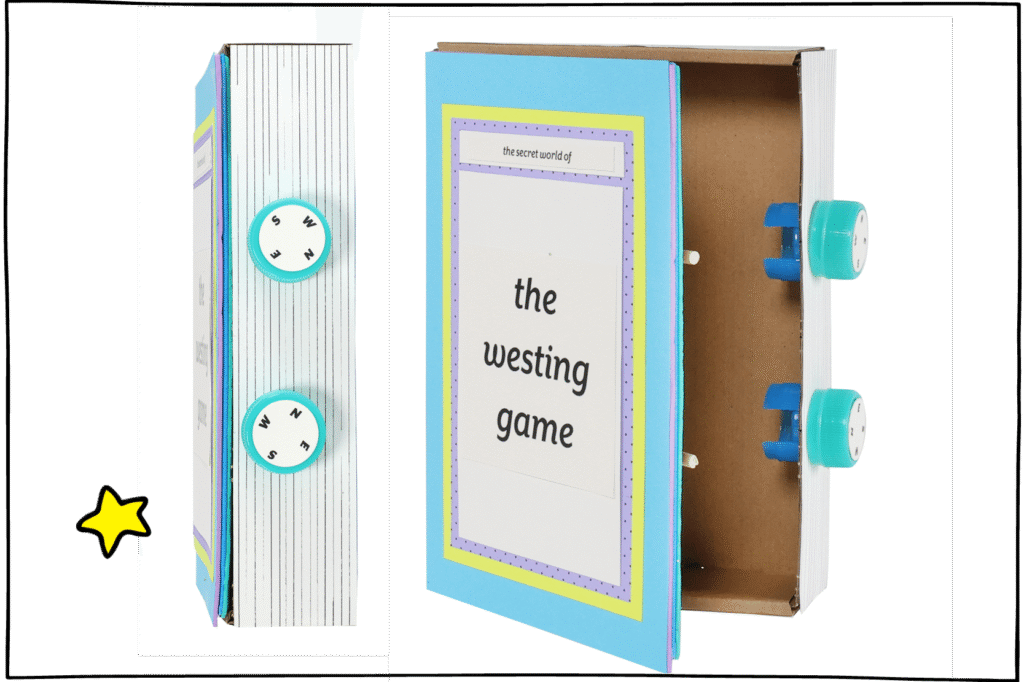
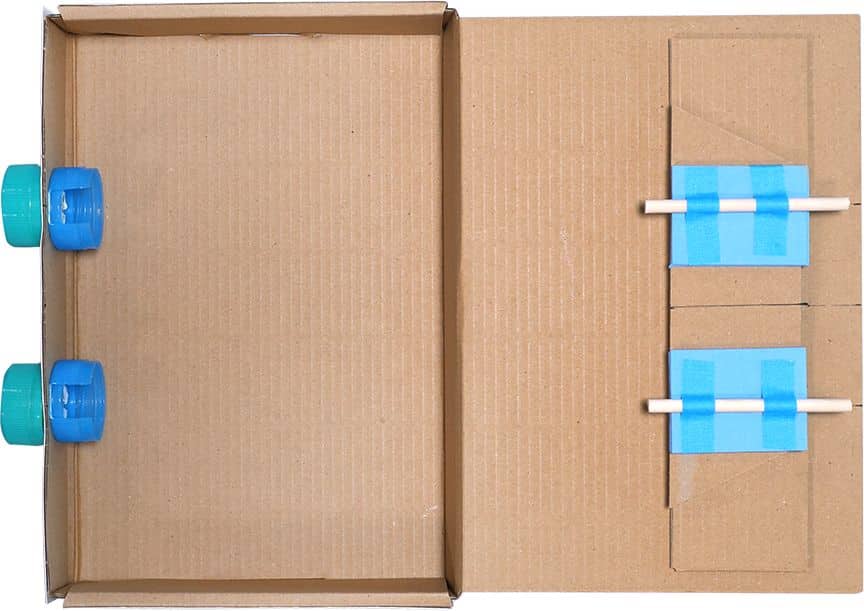
insertthe caps, pushing the brads through the holes from the outside; add the cut caps from the inside. slide the brad through the pierced hole in the cap, and open the legs to secure. close the box so the dowels are aligned with the gaps in the capsbut do not spin the knobs! your lock is in the *open* position.
09
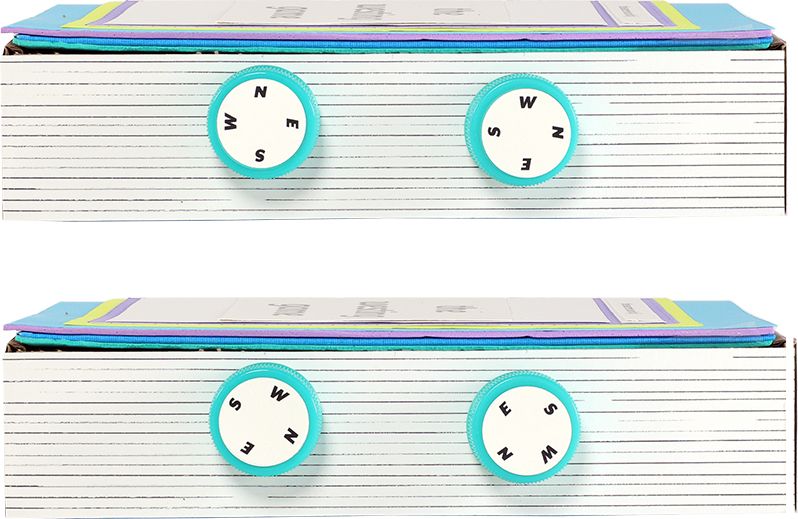
createyour secret code. you can use numbers, letters or symbols. draw these on two circles. we used N, S, E and W like a compass.
10
align your code so the answer is facing up, and glue the papers in place on the knobs. our code is NW for the compass direction North West. set in that position, the box opens!
11
spin the knobs to lock the box and scramble the code.
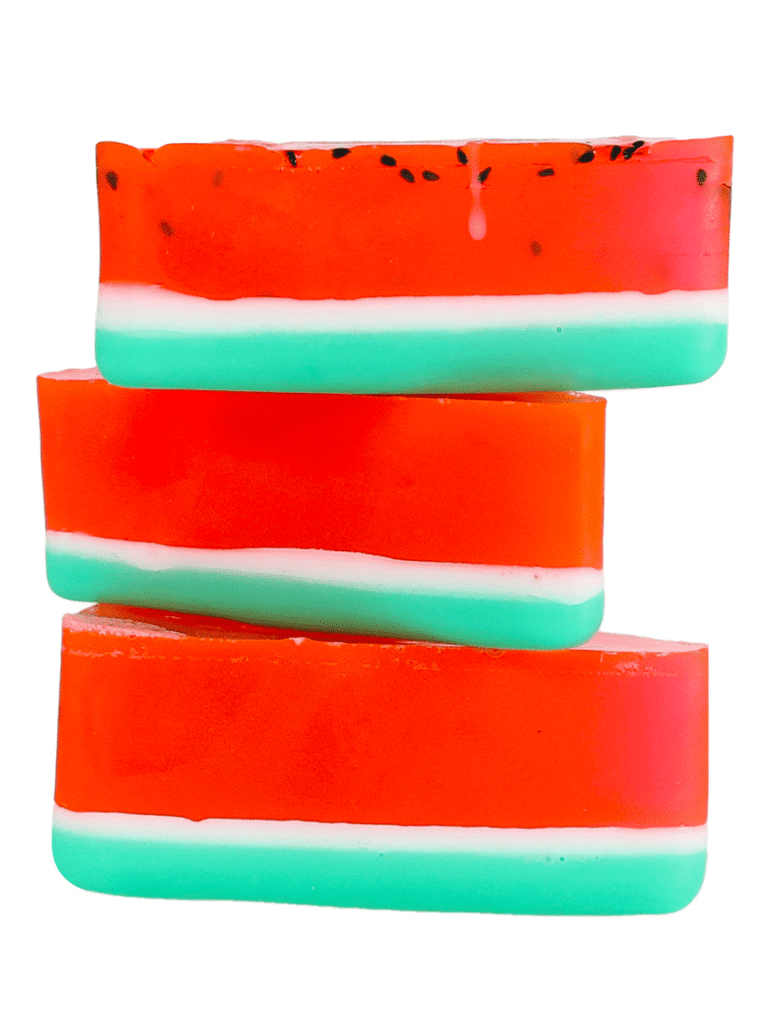
this was easier to make than we thought! keep your eye on the microwave when you are melting the soap and soften it as needed. the ‘cake slice’ silicone mold makes this a cinch!
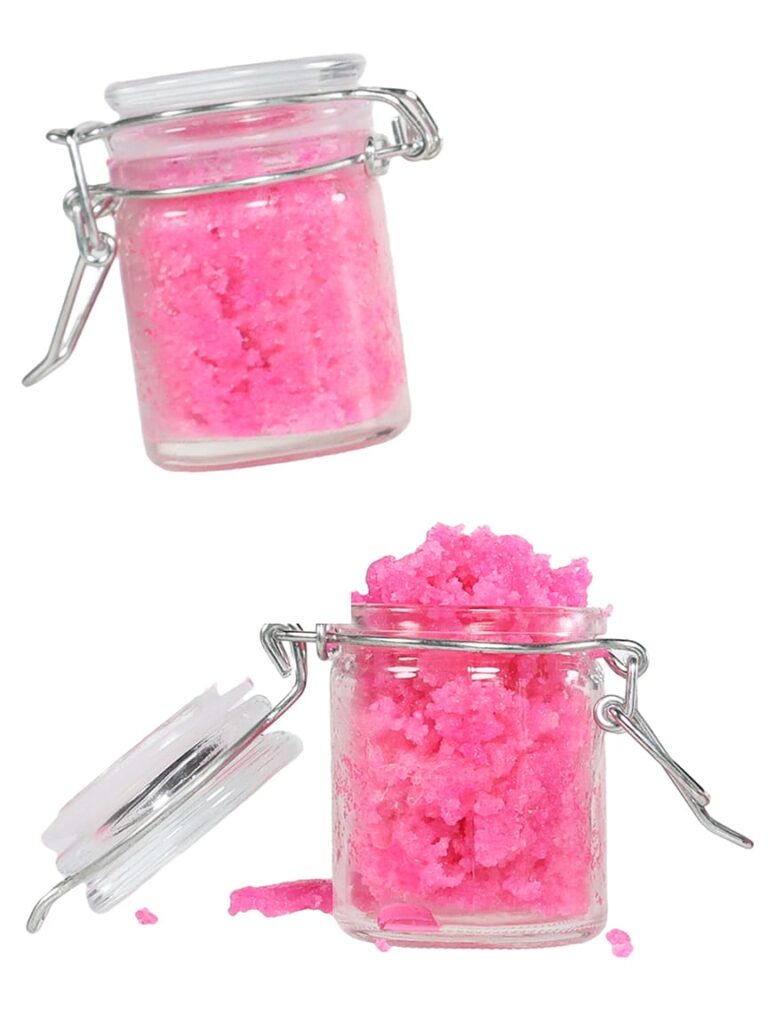
a sugary lip scrub with summer flavor! this recipe makes enough for 2 mini mason jars. one of our favorite parts of the project was hunting for just the right little pots for our scrub.
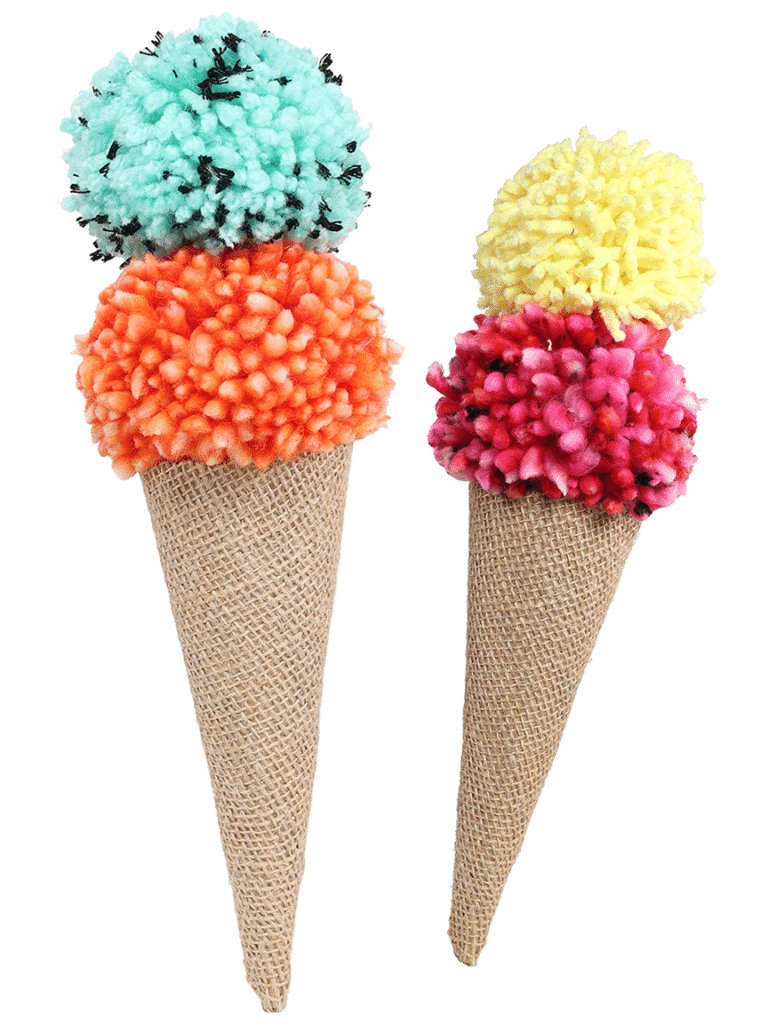
these treats won’t melt in the heat! our pom pom how-to guides you through specific flavors.
you can keep it simple with single-color scoops, or quick and easy with pre-made pom-poms.