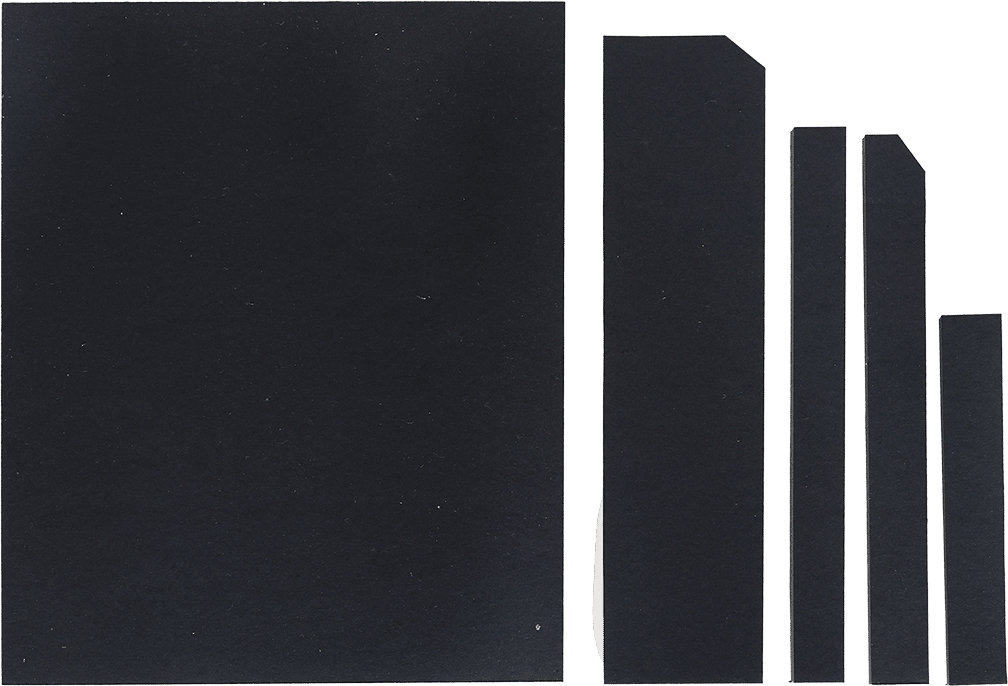
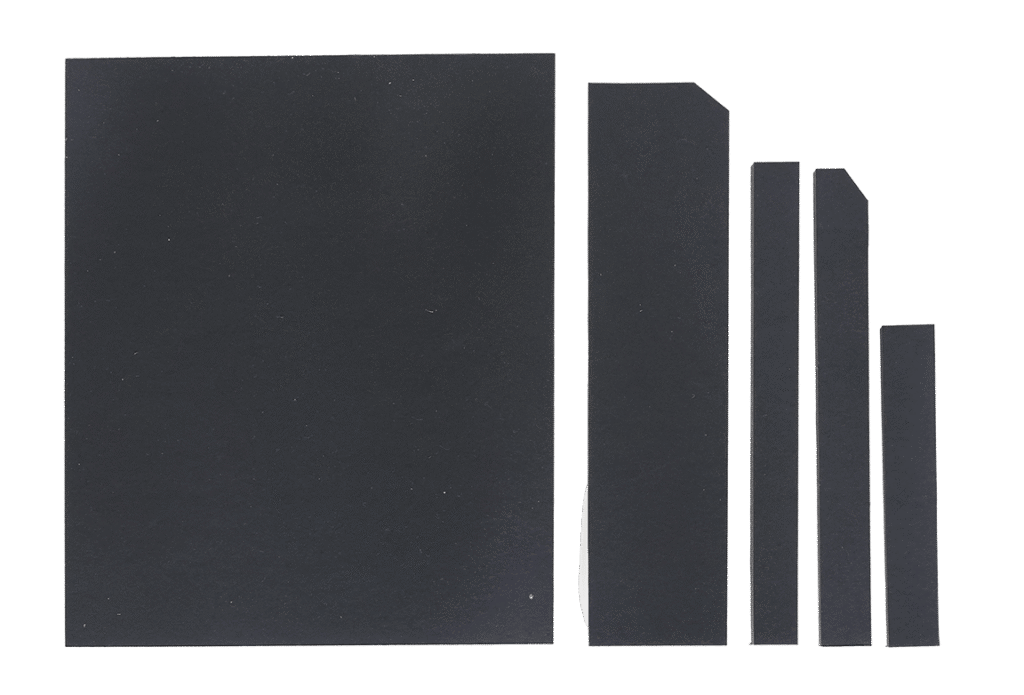
cut an 11 x 14 piece of black foam core into this set of components:
11 in x 9in
10.5in x 2.5in with a corner cut
and the remainder in
3 equal pieces:
9in tall
9in tall with a corner cut
6in tall
maker tip
Use this for any tips or call-outs. Copy and paste as necessary.
02
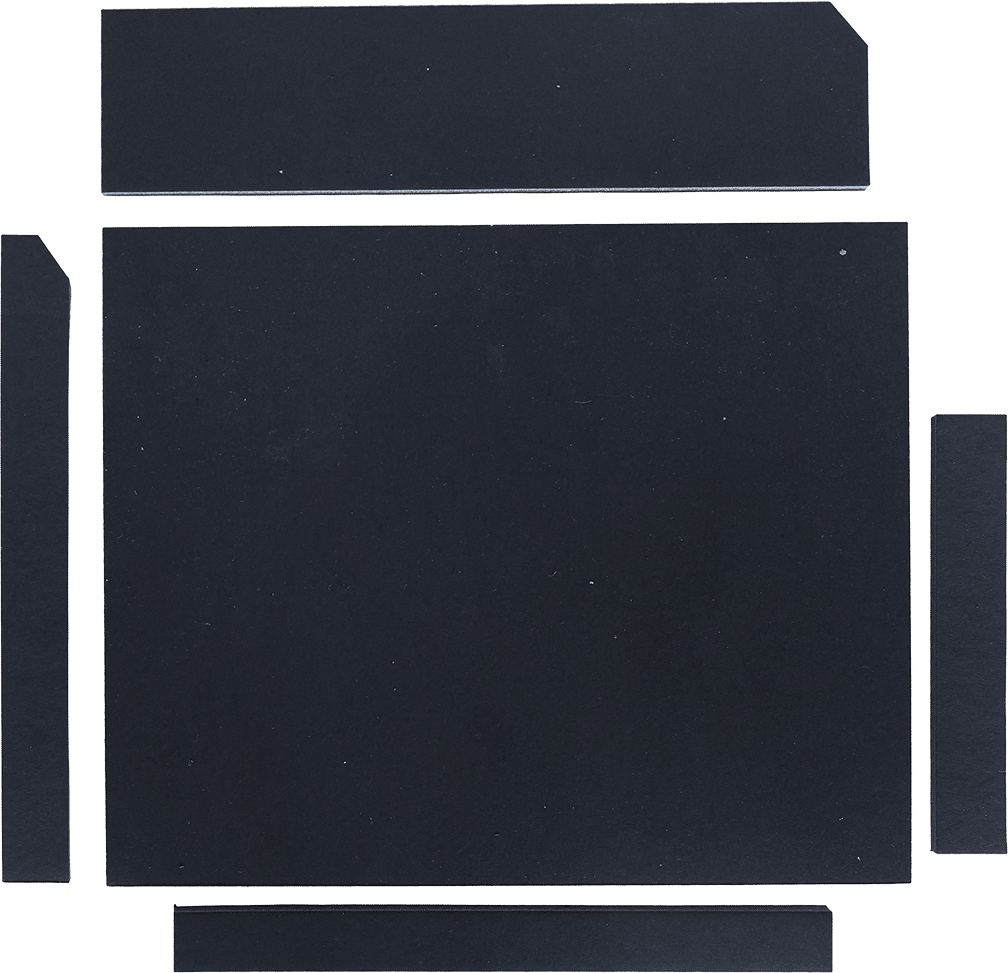
arrange your pieces like this, so you have an idea of where to place things.
03
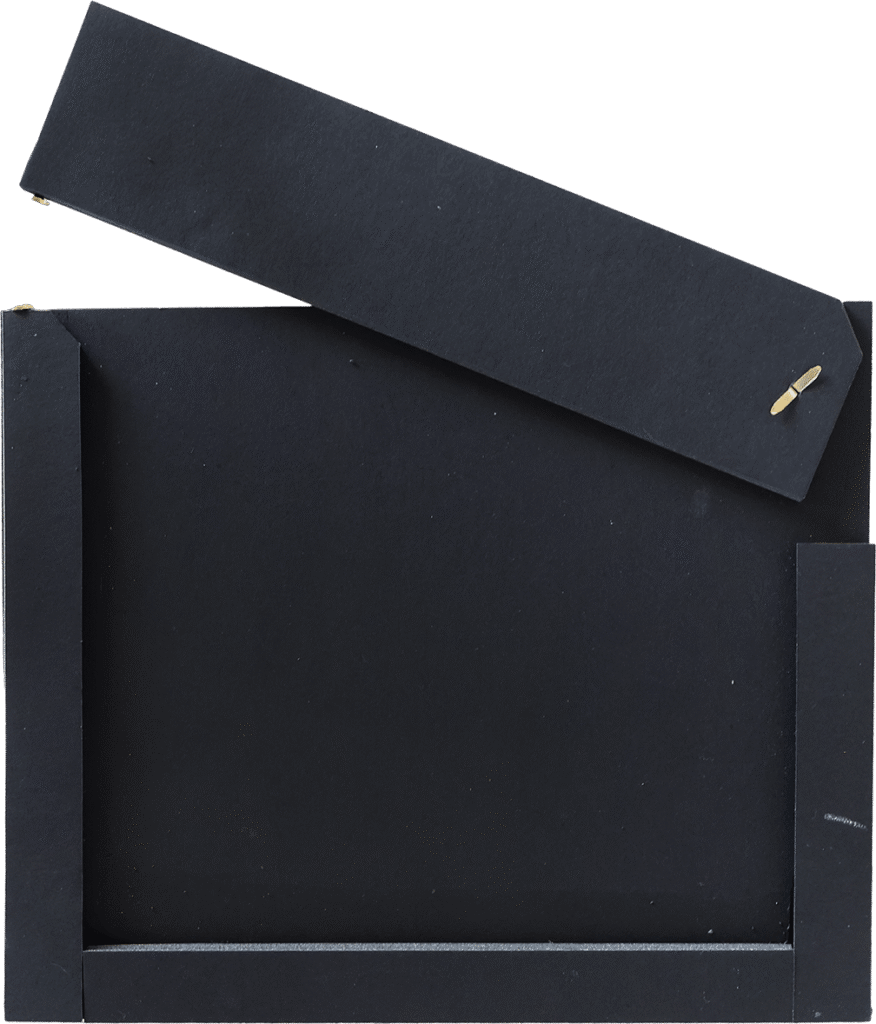
set the slim pieces on the back of the board to form a frame. make sure the edges are lined up and the fit is nice and even.
04
glue into place using rubber cement or school glue and let dry.
05
punch a small hole in the clapper piece, this should be 1/2in in from a side, and in the middle from top-to-bottom.
06
measure and punch a corresponding hole on the front of the board.
07
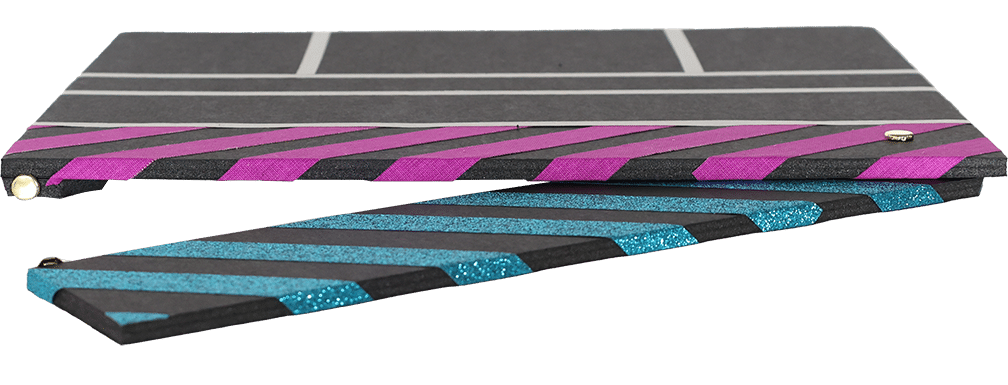
insert a brad through the front of the board and through the hole in the arm of the clapper. this holds the pieces together and allows the clapper arm to move up and down.
08
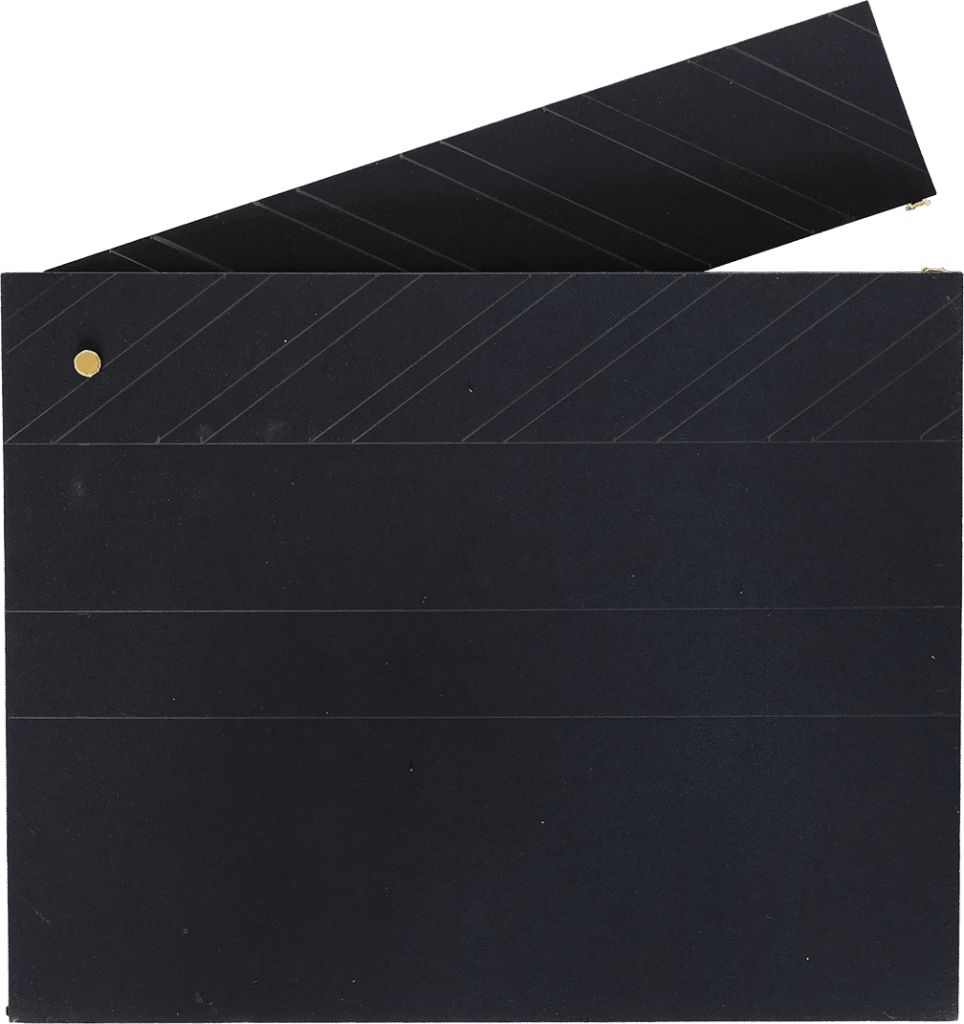
insert brads into the top of the board and the bottom of the arm where the two meet. this creates the CLAP sound!
09
plan the placement of the stripes on the front of the clapper board, drawing lightly in pencil. remove the arm to plan your stripes!.
10
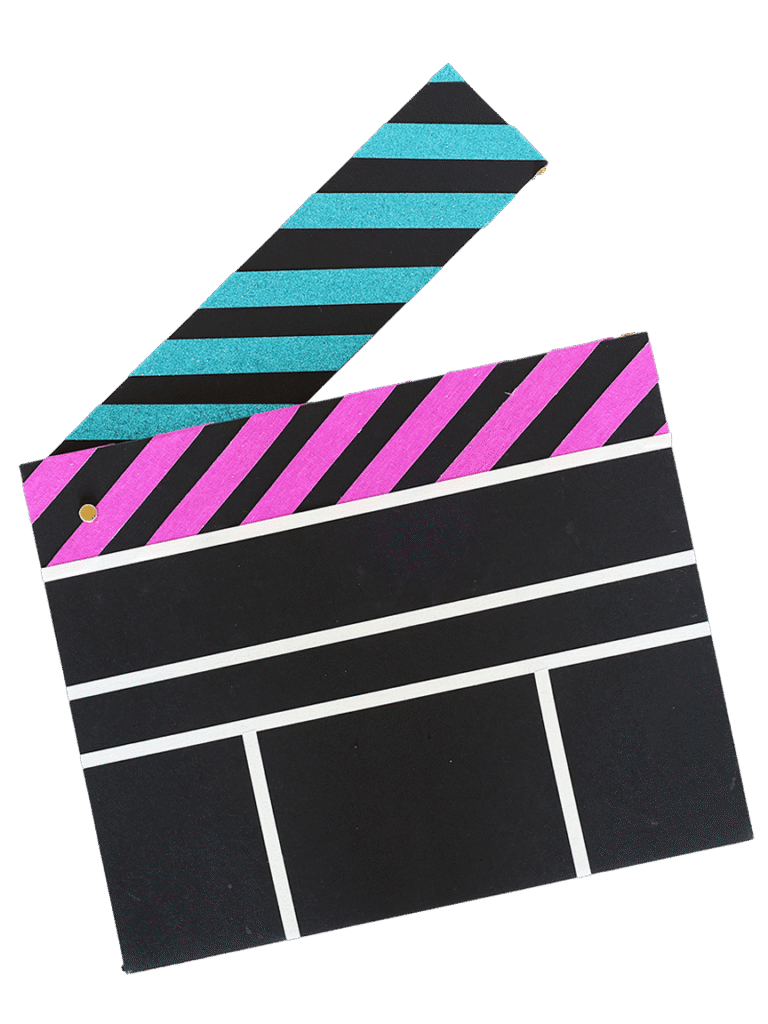
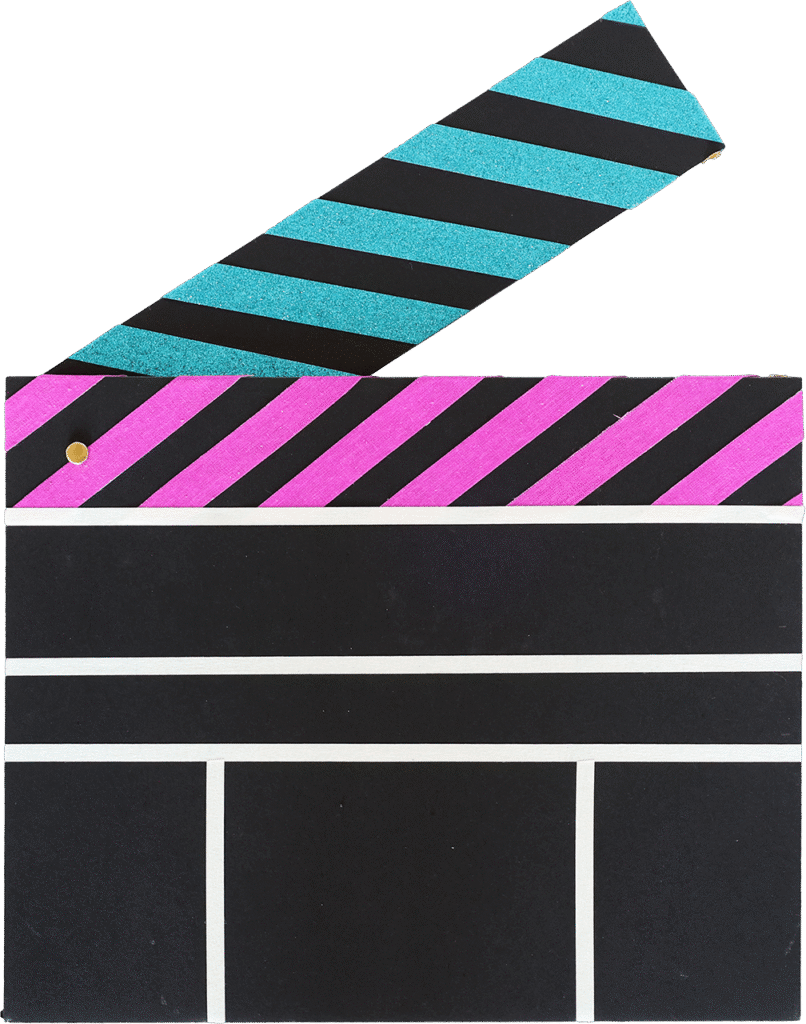
add colorful tape for the wide, diagonal stripes, and use graphic tape for the thin white stripes.
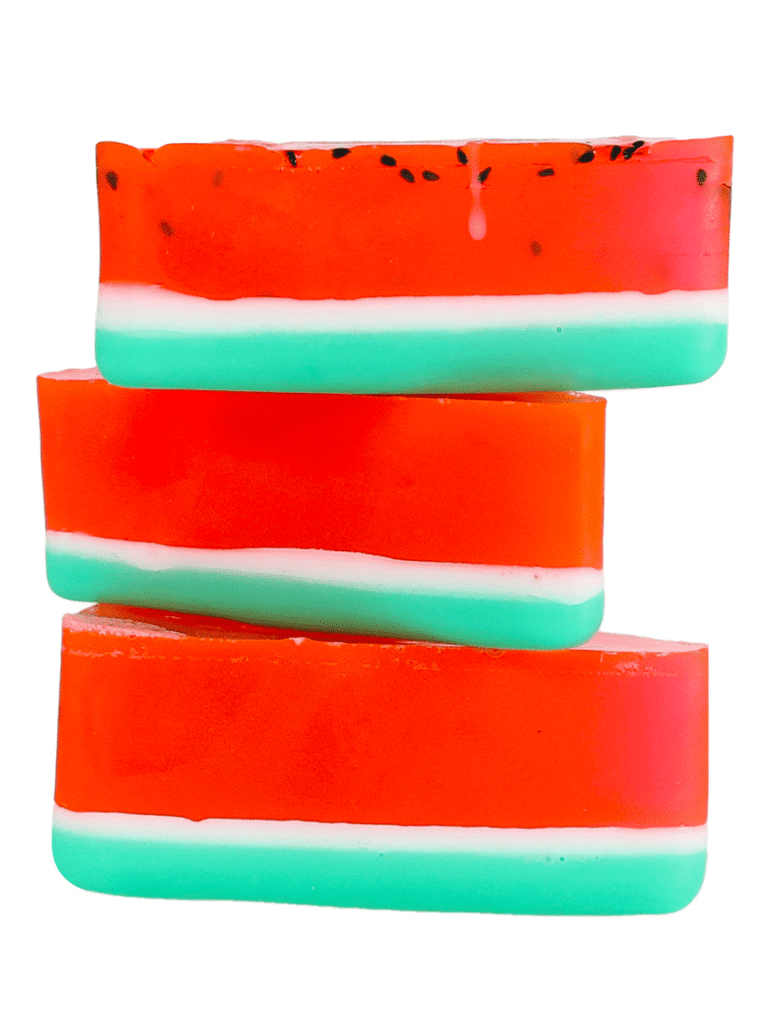
this was easier to make than we thought! keep your eye on the microwave when you are melting the soap and soften it as needed. the ‘cake slice’ silicone mold makes this a cinch!
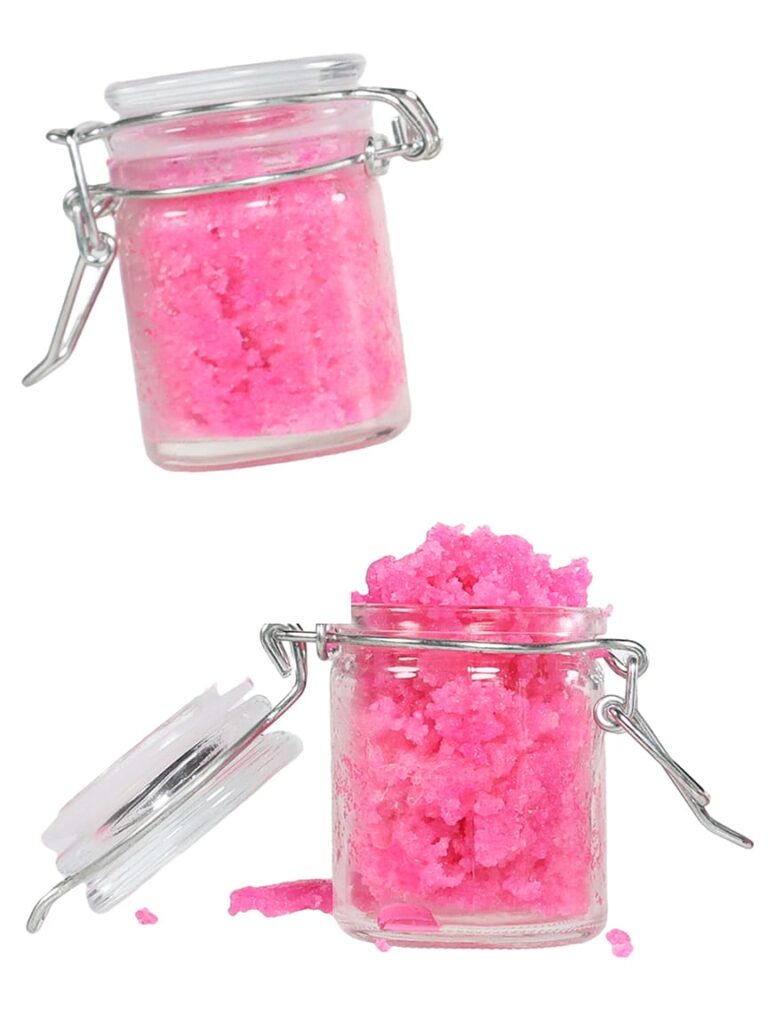
a sugary lip scrub with summer flavor! this recipe makes enough for 2 mini mason jars. one of our favorite parts of the project was hunting for just the right little pots for our scrub.
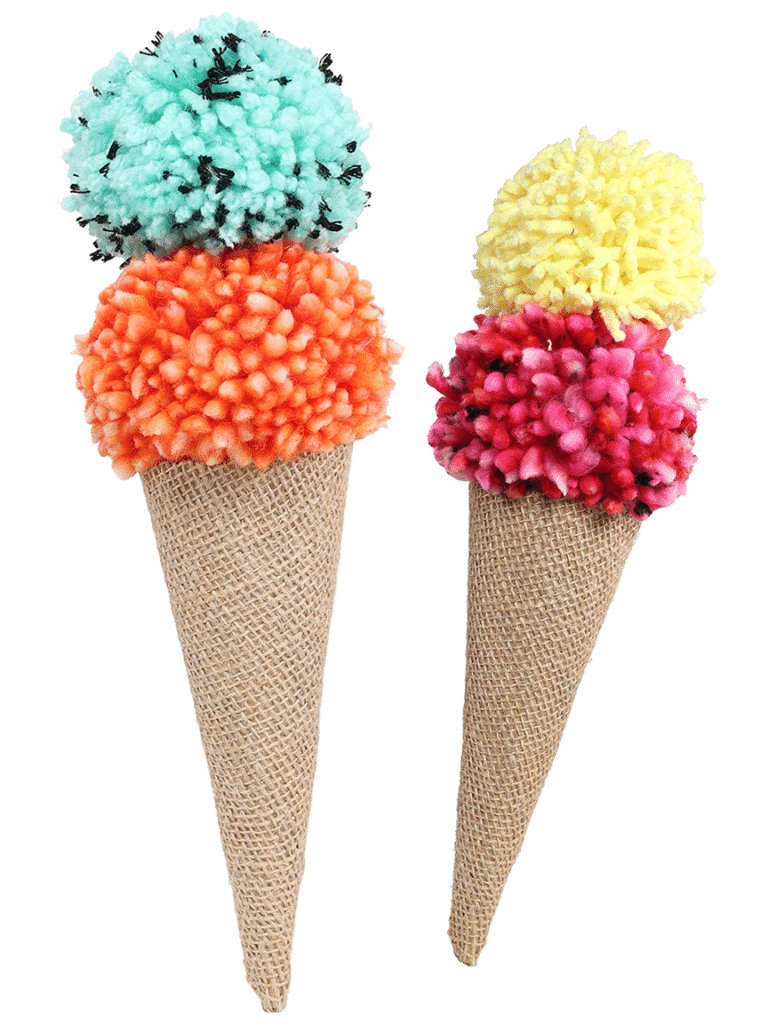
these treats won’t melt in the heat! our pom pom how-to guides you through specific flavors.
you can keep it simple with single-color scoops, or quick and easy with pre-made pom-poms.